Central air conditioner installation starts with a cooling-load calculation and a check of the home’s ducts, electrical supply and drainage. A qualified installation team then fits the matched equipment, connects the system, and tests airflow, refrigerant charge, controls and condensate drainage before handover. We start with these building conditions because a new outdoor unit alone cannot fix an unsuitable air distribution system.
This guide covers residential central ducted AC: one system sends cooled air through supply ducts and receives room air through return ducts. Installation methods apply broadly; the cost examples and EPA certification requirements below refer to the United States.
Can Central Air Conditioning Be Installed in an Existing House?
Yes, central air conditioning can be installed in an existing house when there is a workable route for ducts, equipment, power and drainage. Existing forced-air heating ducts can reduce the work, but their condition and cooling airflow need checking first.
| What your home has | Best starting point | What could change the plan |
|---|---|---|
| A furnace and usable ducts | Keep suitable ducts and investigate adding a matched cooling coil and outdoor unit | The blower, return ducts or supply branches cannot deliver the required cooling airflow |
| Ducts with leaks, damage or room imbalance | Price the necessary repairs or redesign with the new AC | Repairs become extensive, or important branches cannot be reached |
| Radiators, baseboards or no ducts | Compare a new ducted layout with ductless cooling | New ducts would require major alterations or sacrifice too much usable space |
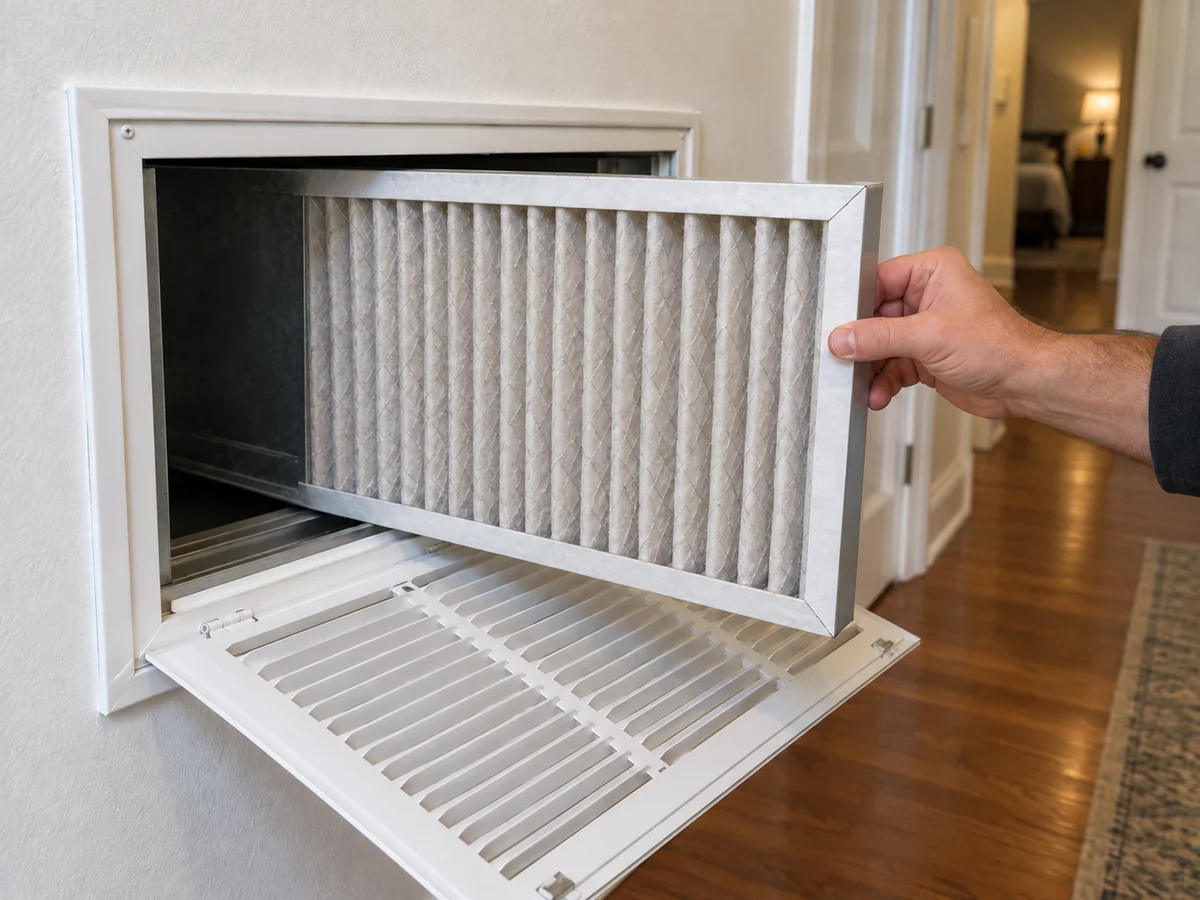
A room needs a route for air to return as well as a supply outlet. Closed bedroom doors can expose a weak return path. The designer may use dedicated returns or suitable transfer paths to keep air moving. DOE’s guidance on ducted returns explains these options.
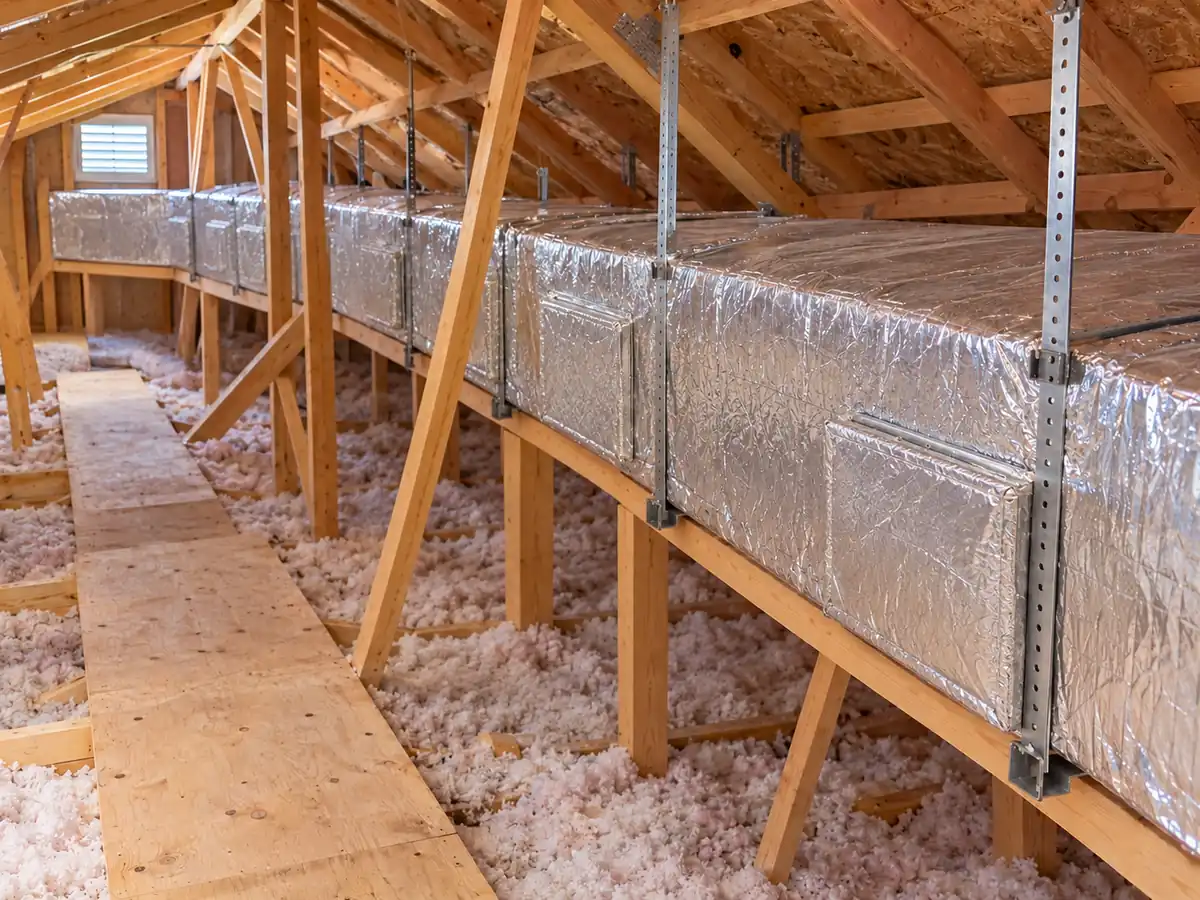
In an old house, map proposed ducts through the attic, basement, closets or ceiling spaces before approving equipment. Include access for future repairs and the cost of closing and finishing openings. If old insulation or duct coverings may contain asbestos, arrange assessment before disturbing them.
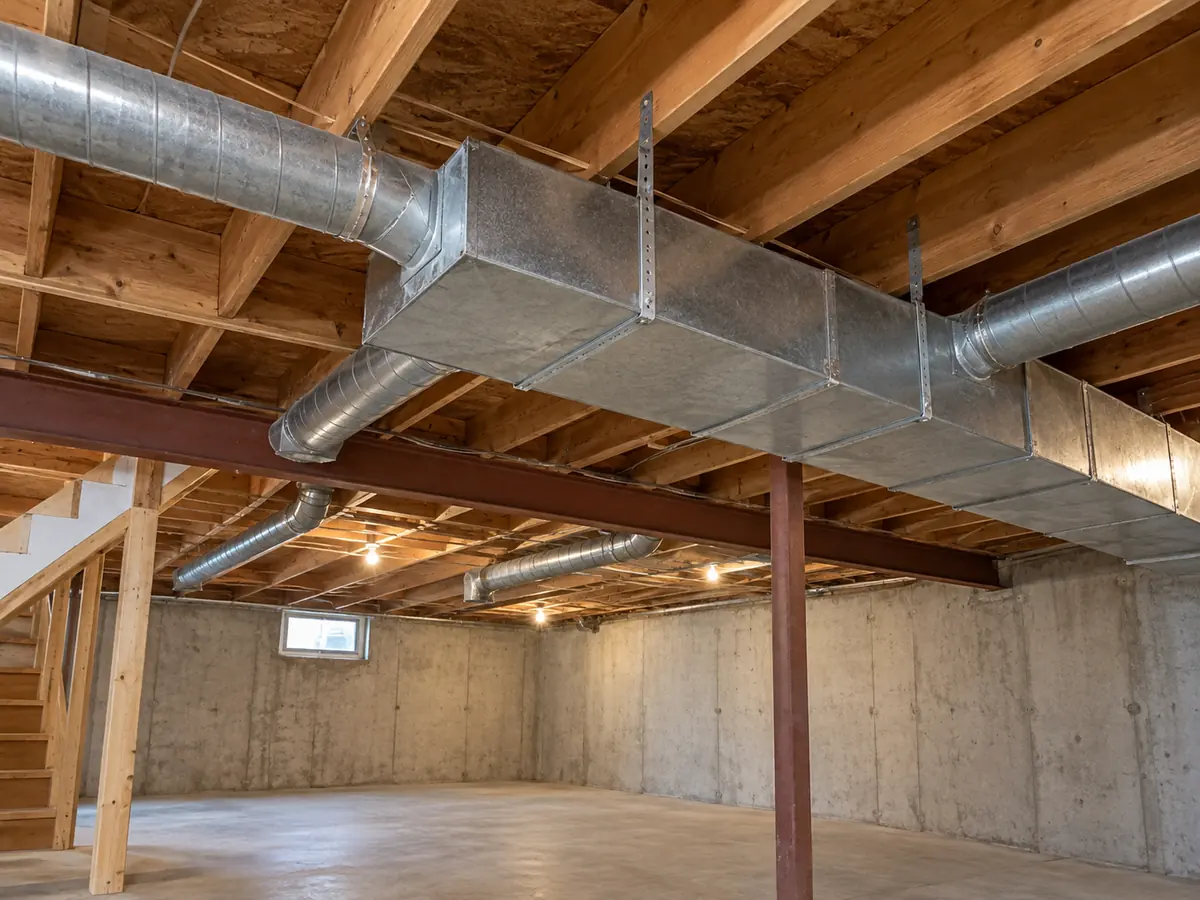
Keep sound, adequately sized ducts; change the plan when the required airflow or practical duct route cannot be achieved. A ductless system can avoid the new distribution ducts. Our guide to AC system types explains the main alternatives.
What Do You Need Before Installing Central Air Conditioning?
You need a suitable equipment combination, a cooling-load basis, and agreed routes for air, refrigerant, electricity and drain water. Put the required site work and the party responsible for it into the installation scope before ordering.
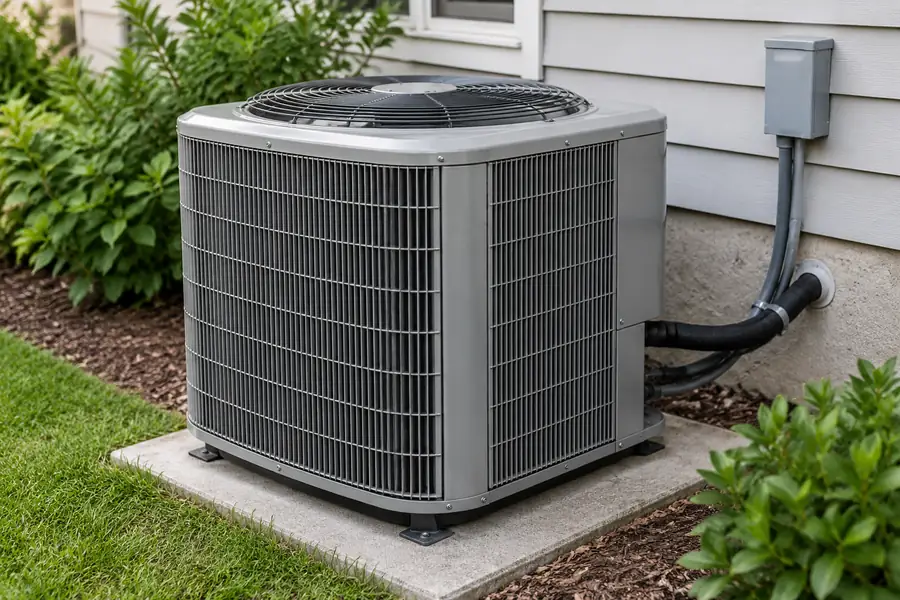
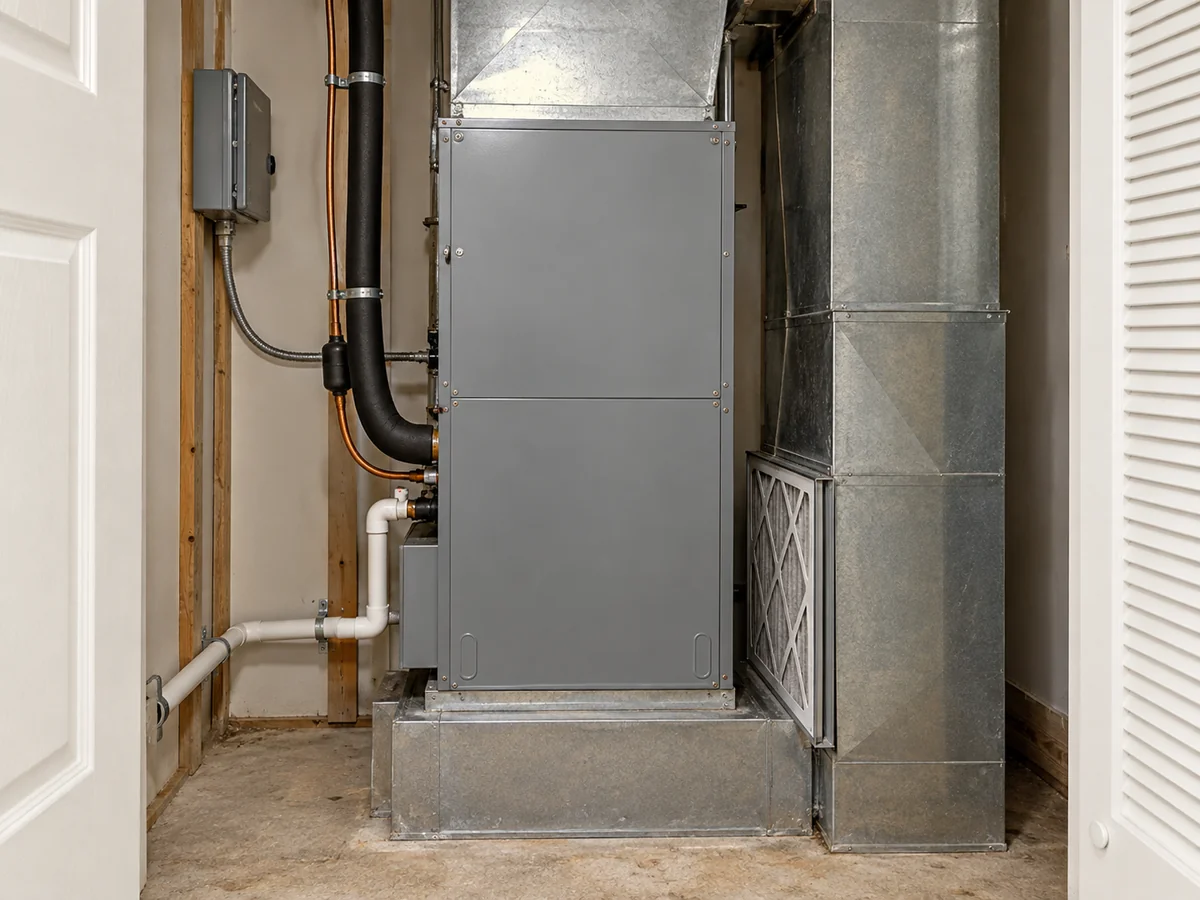
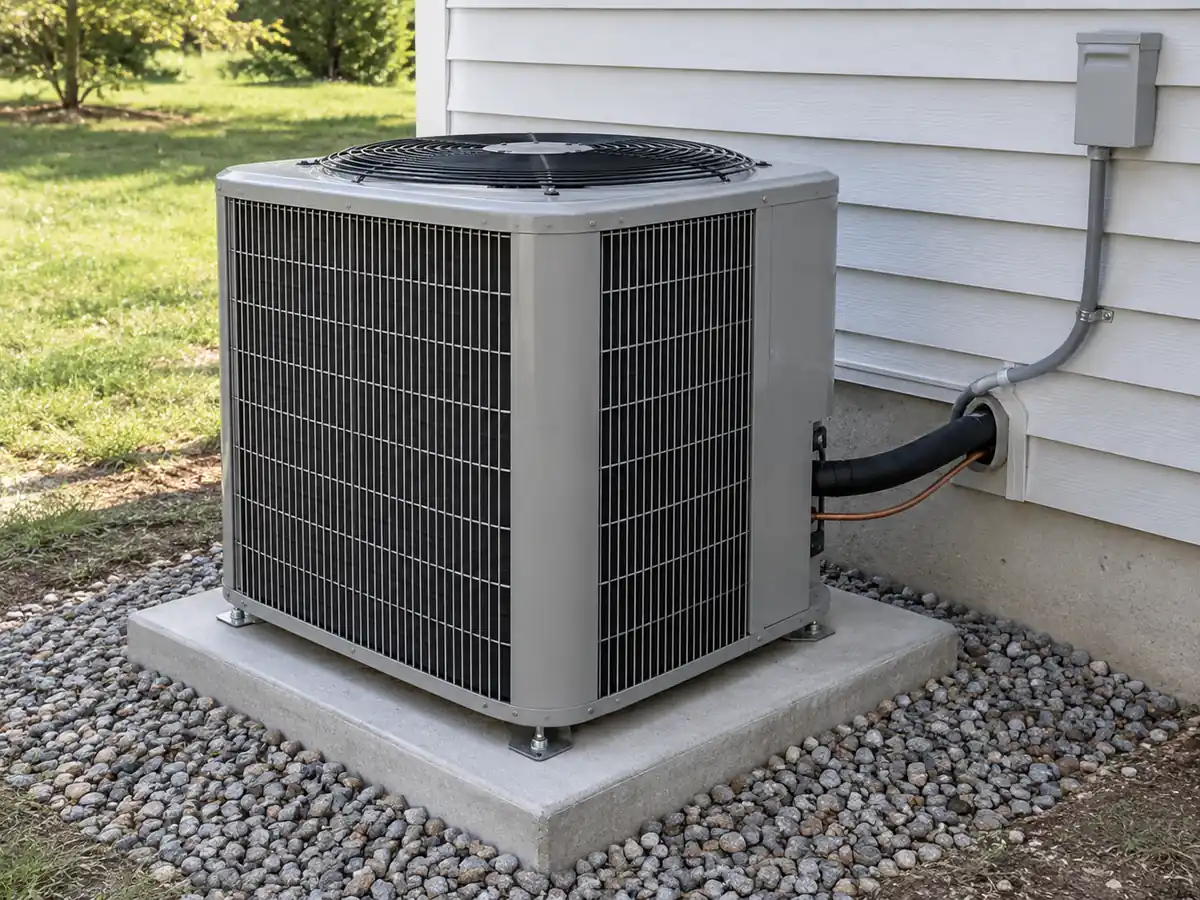
A common split central AC system has an outdoor compressor/condenser and an indoor evaporator coil. A furnace blower or separate air handler moves air across that coil. Refrigerant pipes join the indoor and outdoor equipment. A packaged system keeps the refrigeration components together outdoors and connects to the building’s ducts, so its site layout differs.
Prepare the following information with the designer and installer:
- Building and load: Floor plans, room dimensions, insulation, window sizes and orientation, occupancy, and planned renovations.
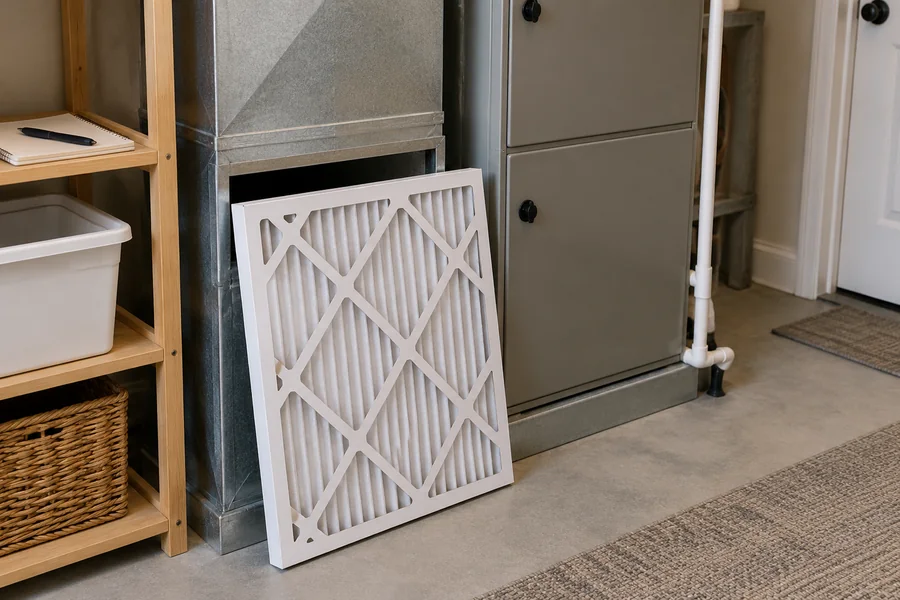
- Indoor equipment: Space for the coil or air handler, filter replacement, drain pan and service access. Record the existing furnace and blower model numbers.
- Air distribution: Supply and return routes, duct sizes, leakage, insulation and rooms that are currently too hot or noisy.
- Outdoor location: A stable support, the model’s airflow and service clearances, noise near windows, flood exposure and access for replacement.
- Connections: The refrigerant line route and length, approved drainage outlet, power supply, circuit protection and compatible thermostat or controls.
- Approvals and schedule: Applicable permits, inspections, delivery access, planned service interruptions and responsibility for wall or ceiling repairs.
Drainage deserves early attention. Cooling removes moisture from the air, producing water called condensate. If gravity drainage is impractical, the plan may need an appropriate pump. Specify the required overflow protection, especially above finished rooms.
What Size Central Air Conditioner Do You Need?
Choose central AC capacity from the home’s calculated cooling load and the matched system’s performance at the design conditions. Floor area and the old unit’s nameplate are useful background, but neither determines the new size on its own.
The design calculation estimates heat entering through the building and moisture that must be removed. Lowering air temperature is sensible cooling; removing moisture is latent cooling. A system must handle both. Oversized equipment can satisfy the thermostat quickly and cycle frequently, while leaving humidity poorly controlled.
For U.S. residential design, the usual sequence is:
- Calculate the load: ACCA Manual J uses the building’s characteristics to establish heating and cooling needs, including room loads.
- Select the equipment: Manual S relates those loads to the manufacturer’s performance data for the approved equipment combination.
- Design the ducts: Manual D addresses the air distribution needed to deliver that cooling to the rooms.
ACCA explains the different jobs of Manuals J, S and D. Ask for the load summary, indoor and outdoor design conditions, selected model numbers and required airflow. The equipment data should correspond to those conditions.
For more detail on building inputs and design-condition capacity, see our central AC sizing guide.
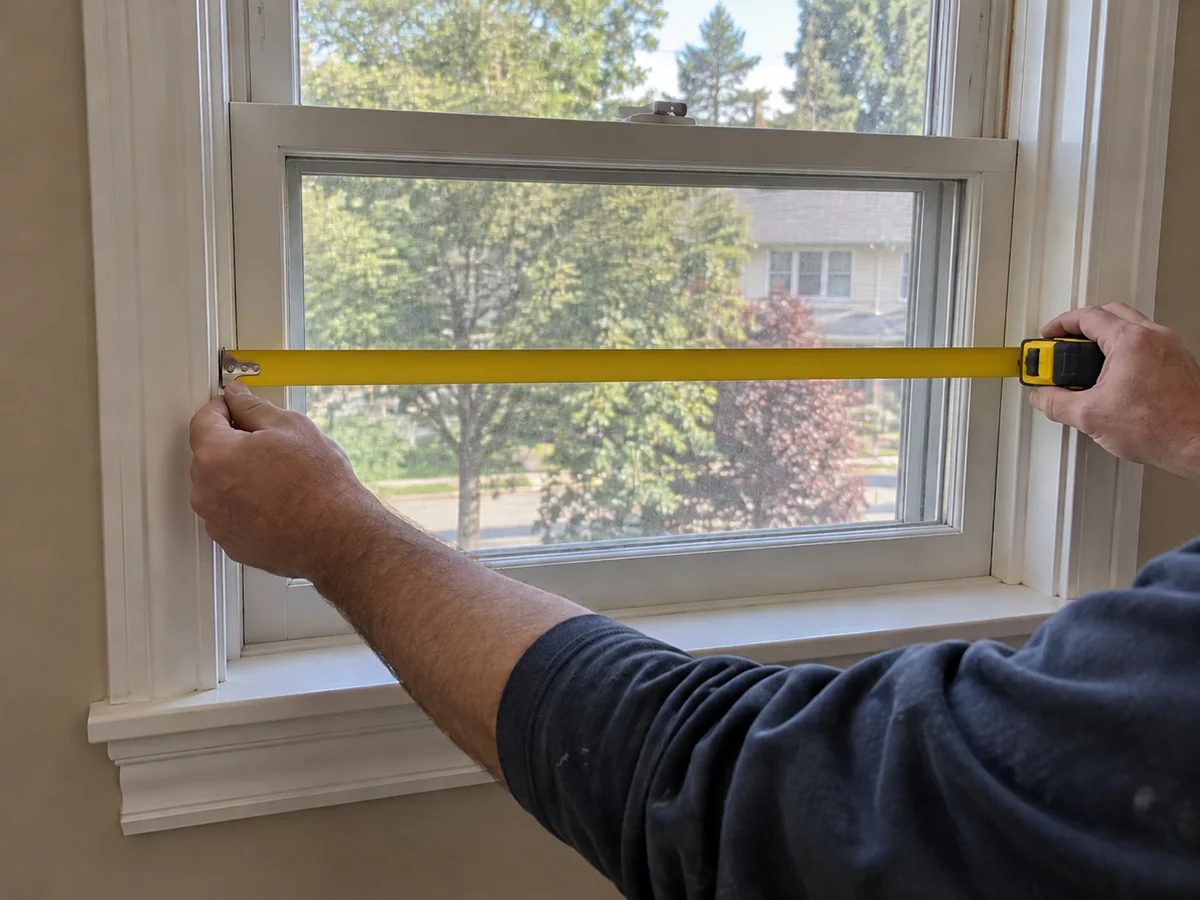
Tell the designer about new insulation, replacement windows or an extension before the calculation. These changes can alter the load. If an upstairs room remains hot, investigate its load and air delivery before selecting a larger whole-house unit.
How Much Does Central Air Conditioner Installation Cost?
For a U.S. planning reference, Angi’s July 2026 guide lists $3,000–$7,000 for an AC unit with professional installation and $6,000–$17,000 or more for adding AC and ducts to an older home. These are two different project scopes; a full retrofit needs more work than connecting equipment to a suitable existing system.
| Published project scope | U.S. reference cost |
|---|---|
| AC unit and professional installation | $3,000–$7,000 |
| AC and ductwork added to an older home | $6,000–$17,000+ |
Source: Angi’s guide to adding central air, updated July 9, 2026. Use the figures as that guide’s published references. Obtain local prices for the actual equipment and work, with taxes and exclusions stated.
The largest scope differences often come from new ducts, difficult access, electrical upgrades, indoor equipment replacement and building repairs. Equipment capacity, compressor controls and efficiency also affect the price. A factory equipment price excludes much of the work included in an installed residential quote.
Ask each contractor to identify the outdoor unit, indoor coil or air handler, retained furnace, controls, refrigerant lines, drain work, duct changes, electrical work, permits, old-equipment removal, testing and finish repairs. Also separate parts coverage from installation labor and service coverage.
Compare Quotes With the Same Work Included
Suppose Quote A is $8,000, but excludes $1,800 of duct repairs and $900 of electrical work. Quote B is $10,500 and includes those same tasks. Assume equipment, testing, finish work and tax treatment are otherwise the same.
Quote A on the same scope: $8,000 + $1,800 + $900 = $10,700. Quote B is therefore $200 lower for the work being compared.
First resolve unknown exclusions, then compare price and service terms. A cheaper headline becomes useful only when you know what the completed installation includes.
Can You Install Central Air Conditioning Yourself?
A conventional central AC installation should be completed by appropriately qualified HVAC and electrical workers. You can collect building information, photograph accessible equipment labels, clear access and coordinate the work schedule.
In the U.S., regulated refrigerant work requires the appropriate EPA Section 608 certification. This includes activities such as connecting gauges and adding or removing refrigerant. EPA provides a supervised-apprentice exception; certification is also separate from local electrical and contractor licensing. See the EPA technician certification requirements.
Do not open electrical compartments, cut refrigerant pipes or move old equipment to prepare for the installer. Agree on any owner-supplied equipment before buying it, including who accepts responsibility for compatibility and warranty support.
How Is a Central Air Conditioning System Installed?
Installation proceeds from an approved design and prepared site to equipment placement, connections, testing and handover. The team should resolve problems at each step before covering work or starting the system.
1. Confirm the Design and Site Preparation
Compare delivered model numbers with the approved equipment list. Confirm the indoor/outdoor combination, controls and refrigerant, then review the exact installation instructions. Agree on the duct alterations, line route, drainage, electrical work and inspections.
Clear a safe route to the indoor and outdoor locations. Arrange protection for finished surfaces and identify which services will be unavailable. Resolve missing components or an unworkable route before removing a functioning system.
2. Isolate and Remove the Old Equipment
Qualified workers isolate the electrical supply and recover refrigerant as required before disconnecting the old system. They remove the equipment without damaging services or building surfaces that will remain.
Reusing refrigerant lines requires a decision based on their size, condition, cleanliness and the new manufacturer’s instructions. Damaged, unsuitable or contaminated lines may need replacement. Keeping them solely because they reach the new unit can create another repair later.
3. Set the Units and Complete the Air Paths
Install the outdoor unit on the specified stable support, with its required clearances. Keep the discharge path open and service panels accessible. Fit the indoor coil or air handler in its approved orientation, with access to the filter and drain.
Complete the supply and return connections. Seal duct joints, restore insulation and correct crushed flexible ducts or tight bends. Air leaking into an attic or getting trapped behind a closed door reduces the cooling delivered to rooms.
4. Connect Refrigerant Lines, Power and Drainage
The installation team uses the approved refrigerant pipe sizes, connection methods and insulation. Electrical workers follow the equipment nameplate, wiring diagram and applicable rules for supply, protection, disconnects and grounding.
Route the condensate drain to the approved outlet. Install traps, vents, pumps and overflow protection where the equipment and site require them. Test the water path before closing access. The PNNL retrofit assessment guide identifies electrical isolation, drainage and existing-line condition as important checks.
5. Test the Circuit and Commission the System
For field-connected refrigerant piping, the technician completes the specified leak tests and removes air and moisture through evacuation. A leak must be repaired and retested; a failed vacuum check needs investigation before charging proceeds.
The technician then follows the model’s charging procedure and adjusts airflow and controls. Refrigerant charge, airflow and operating conditions interact, so a pressure reading alone is insufficient. Test condensate drainage, cooling operation and required safety functions, and record the results.
PNNL’s air-conditioning guidance describes these installation and commissioning checks. Use the exact equipment instructions for test pressures, vacuum criteria, charge adjustments and clearances.
What Should You Check Before Accepting the Installation?
Accept the installation after the required operating, drainage, electrical and airflow checks are complete and documented. Cold air at one register is only one observation; the system must also distribute air and remove water correctly.
| Check | What to request at handover |
|---|---|
| Equipment combination | Indoor/outdoor model and serial numbers; approved-match documentation |
| Air delivery | Measured airflow and external static pressure, with the relevant manufacturer limits; room balancing results |
| Refrigerant circuit | Leak-test and evacuation records, charging method and any added refrigerant |
| Drainage and protection | Drain test and operation of any installed overflow switch or condensate pump |
| Controls and electrical work | Thermostat setup, operating tests and required inspection records |
| Future service | Manuals, filter details, access points, warranty terms and installer contact |
External static pressure is the resistance the blower works against in the connected air system. Excessive resistance can restrict airflow. ENERGY STAR’s quality-installation guidance emphasizes correct airflow, refrigerant charge and duct evaluation.
If water leaks indoors, stop cooling and have the drain, pan and protection checked before restarting. If the coil or refrigerant line ices up, stop cooling and have the technician investigate airflow and refrigerant operation. Ice alone does not identify the cause or justify adding refrigerant.
For a room that stays warm, compare its supply airflow, return path and calculated load. Correct the identified restriction, leak or balance problem, then repeat the relevant measurements and room check.
For persistent problems after installation, use our AC not cooling troubleshooting guide to organize safe observations before service.
Plan the Whole Installation Before Ordering
Successful central air conditioner installation joins the right equipment to a suitable building and air distribution system. Start with the load and duct survey, compare complete scopes, and agree on the tests and records needed at handover.
If adding ducts proves impractical, compare ductless cooling before committing to major alterations. For that option, contact us with your market, room layout, cooling load if available, and power supply. We can discuss the equipment direction within our wall-mounted split AC range.
Central Air Conditioning Installation FAQ
Can I Keep My Existing Furnace When Adding Central AC?
Yes, if the furnace blower can deliver the cooling airflow and the proposed coil fits an approved system arrangement. The installer must also check space, controls, drainage and duct resistance. A furnace that still heats the house can need changes before it supports cooling.
Can I Replace Only the Outdoor AC Unit?
Only when the manufacturer approves the proposed combination with the existing indoor equipment. Matching the nominal capacity alone is insufficient. Check the coil, metering device, refrigerant and controls before accepting a partial replacement.
How Long Does Central Air Installation Take?
A straightforward equipment replacement can often fit into one working day; new ducts or substantial site work take longer. Carrier’s installation guide gives one day for a straightforward central AC replacement. Ask for a schedule that separates site work from equipment delivery, permits and inspection dates.
Can Central AC Be Installed in Winter?
Yes, but full cooling verification must follow the model’s permitted outdoor conditions and commissioning procedure. Record the checks completed at installation and schedule any cooling tests that require warmer weather. Do not treat a cold-weather start as proof of summer performance.
Does Central Air Conditioning Bring in Fresh Air?
A standard central AC air path mainly recirculates indoor air; outdoor ventilation needs a designed intake or separate ventilation system. A return grille carries room air back to the equipment. It is not, by itself, a fresh-air supply.