What Is a Split Type Air Conditioner?
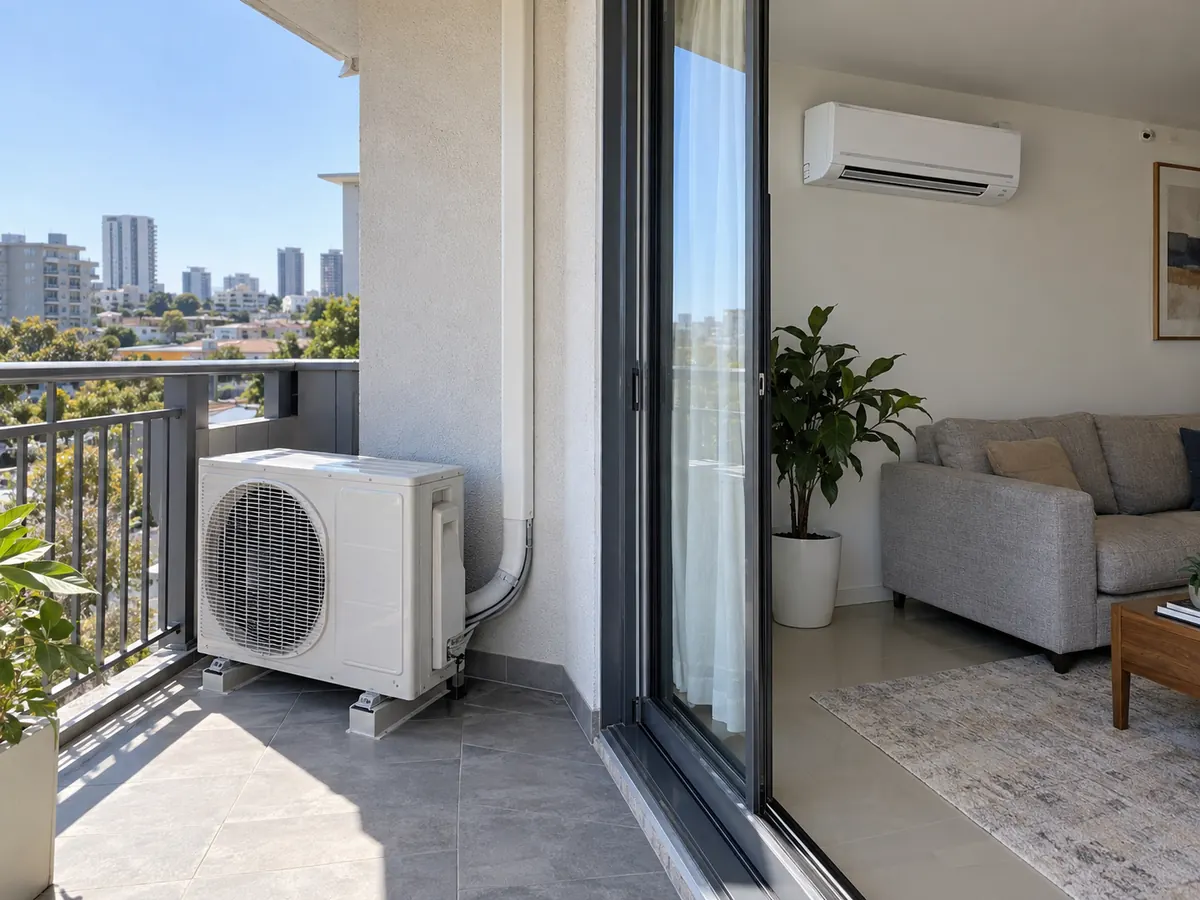
A split type air conditioner has two main parts: an indoor unit and an outdoor unit. Refrigerant pipes carry heat between them. Electrical or control wiring connects the units, and a drain carries away the water removed from indoor air. That water is called condensate.
You may also see the names split AC, split aircon, single-split air conditioner or ductless split system. A multi-split system works in a similar way, but one outdoor unit serves several indoor units. This makes the piping, controls and final testing more complex.
Split AC Installation at a Glance
Use this table for the full installation sequence. The exact pipe sizes, torque values, wiring details, line limits and refrigerant charge still come from the manual for the exact model.
| Step | What happens | What to check |
|---|---|---|
| 1 | Confirm the model, load and installation limits | The system fits the project |
| 2 | Choose the indoor unit location | Good airflow, strong wall, service space and drain route |
| 3 | Choose the outdoor unit location | Good airflow, firm support, access, drainage and acceptable noise |
| 4 | Plan the wall opening and service route | Safe path for pipes, cable and drain |
| 5 | Mount the indoor unit | Plate is secure and level |
| 6 | Mount the outdoor unit | Unit is stable, level and easy to service |
| 7 | Connect the refrigerant pipes | Clean joints, correct pipe sizes and complete insulation |
| 8 | Complete power and control wiring | Wiring matches the unit data and local rules |
| 9 | Test the refrigerant circuit for leaks | No leak is found |
| 10 | Remove air and moisture from the field pipes | The required vacuum procedure is completed |
| 11 | Release or adjust the refrigerant charge | The charge follows the model rules and actual pipe length |
| 12 | Test, commission and hand over | Drainage, electrical, operating and record checks pass |
What Can You Prepare Yourself, and What Needs a Qualified Technician?
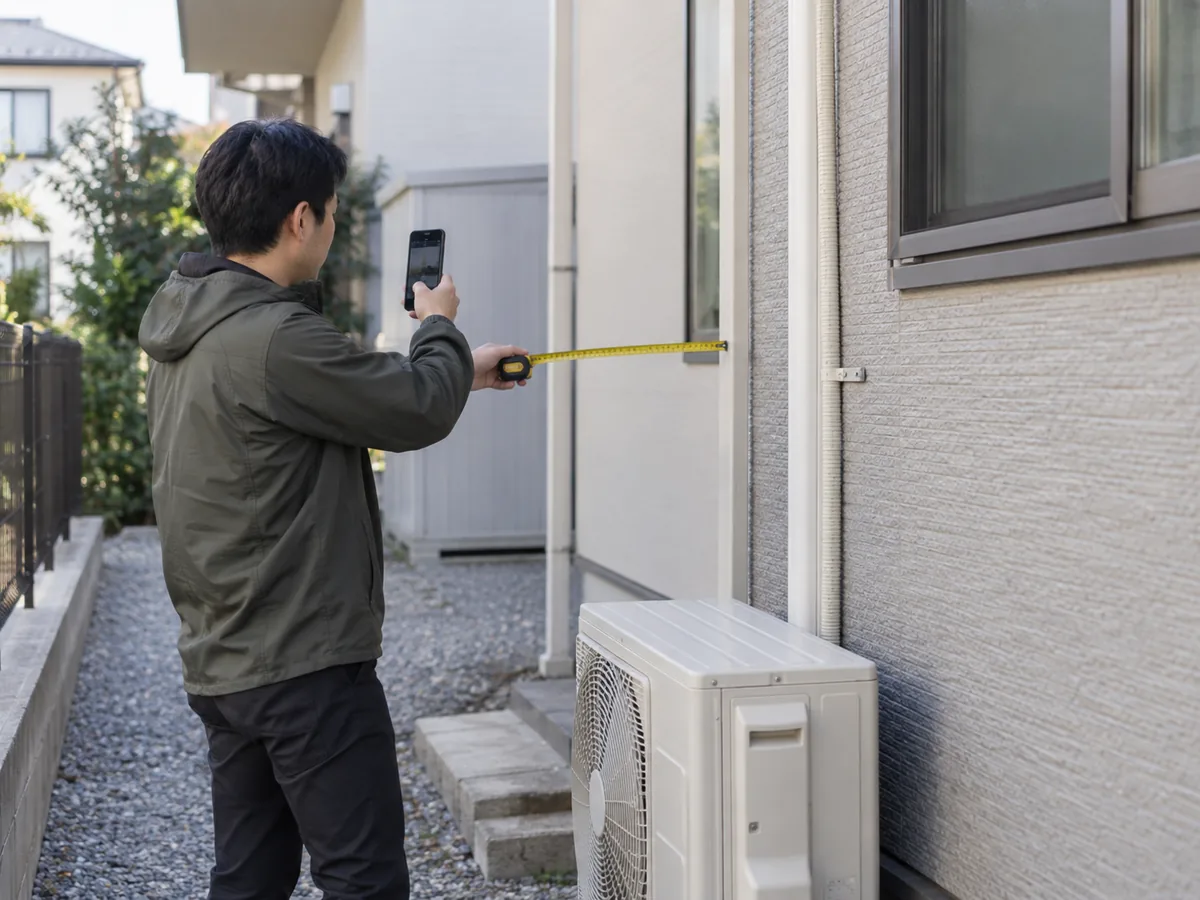
You can prepare before the installer arrives. Measure the room, check possible unit locations, describe the wall and plan access. However, do not treat refrigerant work or fixed electrical work as normal DIY work.
Rules differ by market and can depend on the refrigerant and equipment. Always follow the rules where the system is installed.
| Work | What you can prepare | When a qualified professional is needed |
|---|---|---|
| Measure the room and installation area | Yes | Usually not needed |
| Suggest indoor and outdoor locations | Yes | Installer confirms |
| Check access, wall type and drain route | Yes | Installer confirms |
| Collect power-supply information | Yes | Electrician may be required |
| Open or connect the refrigerant circuit | No | Qualified HVAC worker |
| Leak testing and vacuum work | No | Qualified HVAC worker |
| Add or adjust refrigerant | No | Qualified HVAC worker |
| Fixed electrical work | Do not assume | Follow local licensing rules |
| Final commissioning | Review the results | Installer completes tests |
Before Installation: What Should You Confirm?
Do Not Select a Split AC From Room Area Alone
Room area helps with sizing, but it cannot set the final capacity. Climate, insulation, solar gain, occupancy and windows can all change the load.
Also check the power supply, pipe route, height difference, drainage and outdoor location. Start with a heat-load calculation and review our air-conditioner sizing guide before you lock the model.
| Project detail | Why it matters |
|---|---|
| Cooling and heating design load | Sets the capacity range. Floor area alone is not enough. |
| Outdoor temperature used for sizing | Changes which product family may fit. |
| Voltage, phase and frequency | The power supply must match the unit. |
| Indoor unit location | This affects airflow, service access and drainage. |
| Outdoor unit location | This affects airflow, support, access and noise. |
| Estimated refrigerant pipe length | Must stay inside model limits and may change the charge. |
| Height difference between the units | Must stay inside the model limit. |
| Drain route | Shows whether gravity drainage works or a pump may be needed. |
| Coastal or corrosive exposure | May change protection or product setup. |
| Target country or market | Changes compliance and document needs. |
| Quantity | Helps us prepare the request for quotation (RFQ). |
Split System Air Conditioning Installation: 12 Steps
The exact order can change a little by model and site. However, most professional wall-mounted single-split installations follow the same basic path. A current Daikin split-system installation manual also shows why wall strength, drainage, pipe joints, tightening torque, insulation, wiring and leak checks all matter.
Step 1: Confirm the model, load and installation limits
Check the system before anyone drills the wall. The indoor and outdoor units must be a matched pair. The selected capacity must also fit the cooling or heating load.
Next, check the exact installation manual. Look for the allowed pipe sizes, maximum pipe length, height difference, power supply, refrigerant type, extra-charge rules and service clearances. If the planned route is outside these limits, change the route or choose another system. Do not try to solve a wrong product choice during startup.
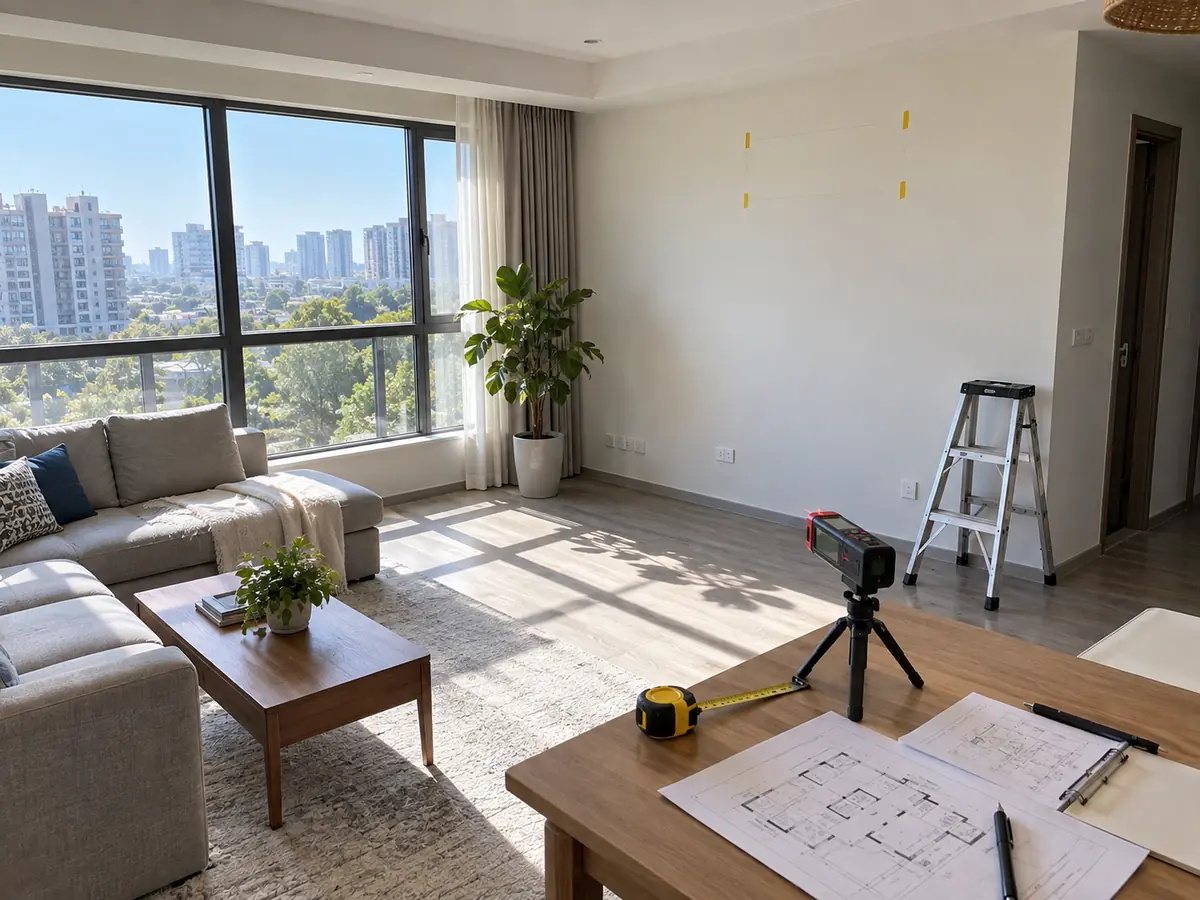
Step 2: Choose the indoor unit position
Put the indoor unit where air can spread across the room. Do not hide it behind tall furniture, curtains or a deep wall recess. Leave enough space to open and service the unit later.
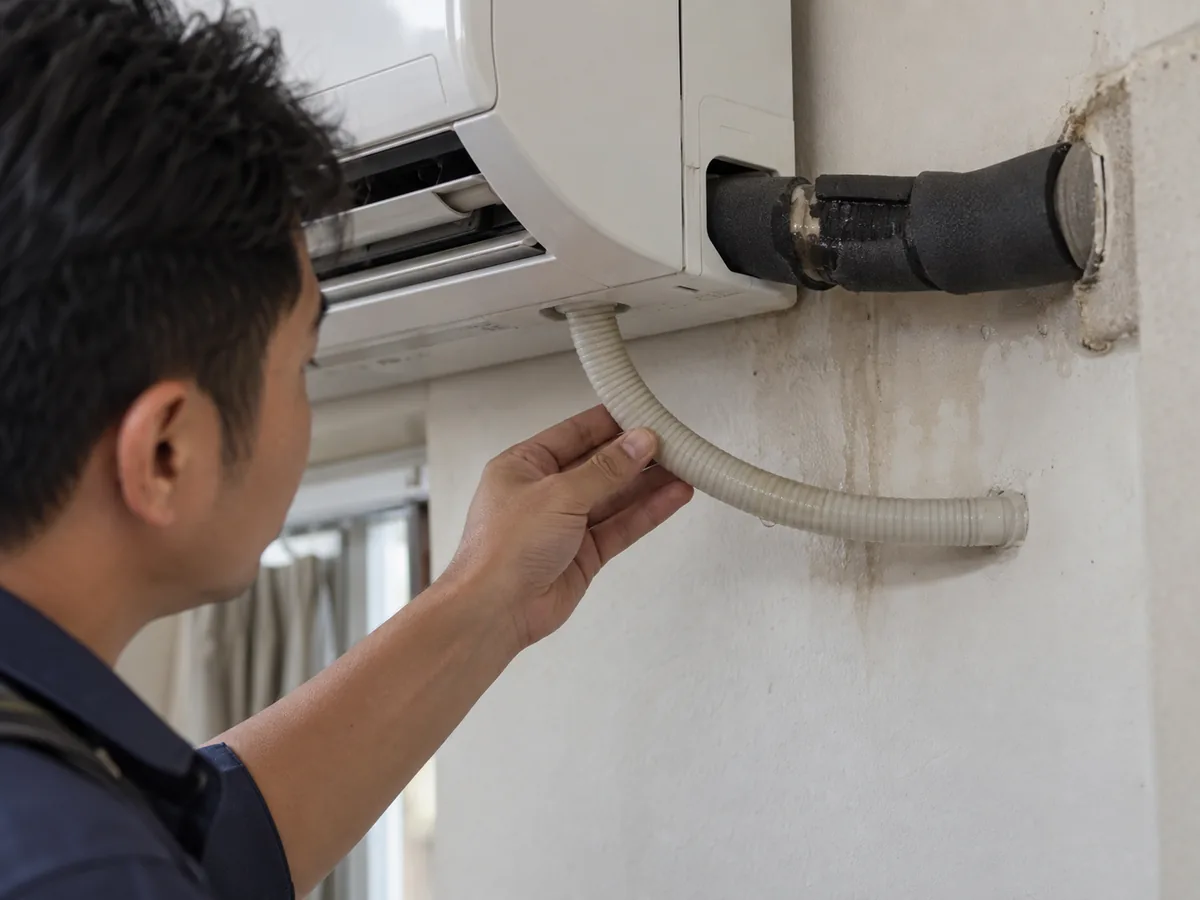
The drain route is just as important. For gravity drainage, the hose needs a steady downward fall. A rise, sag or blocked outlet can hold water and cause indoor dripping.
Step 3: Choose the outdoor unit position
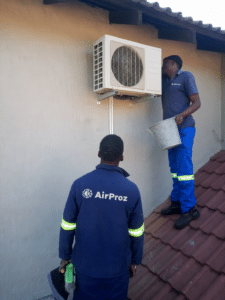
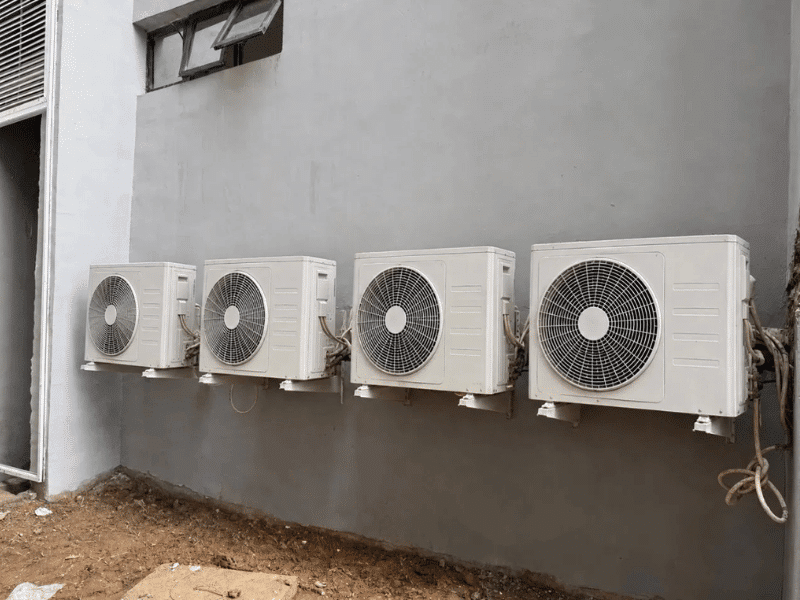
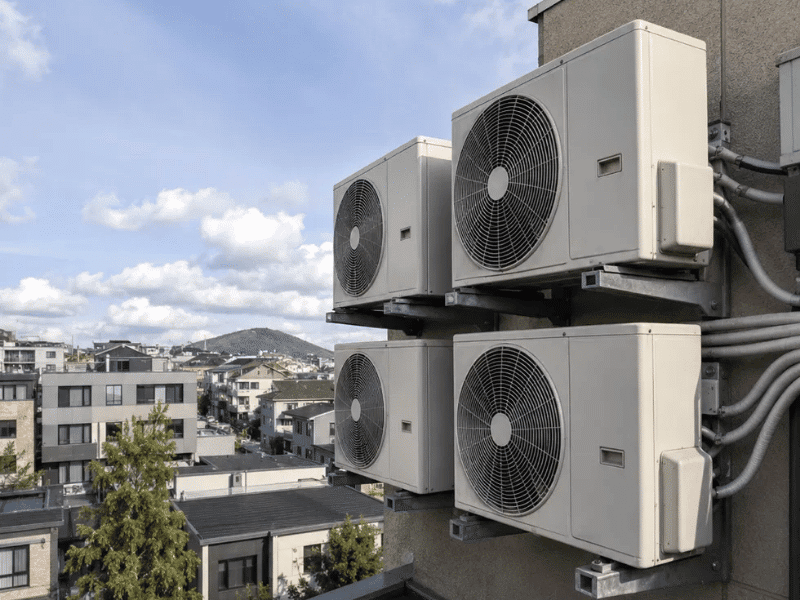
We treat outdoor-unit location as part of the system design. The unit needs free airflow, firm support and enough room for future service. Do not place it where hot discharge air can quickly return into the outdoor coil.
Also check nearby bedroom windows, neighbours, strong wind, roof water, snow, flood risk and corrosive air. The outdoor unit may fit physically but still be in the wrong place. If a technician cannot reach the coil, valves or electrical parts later, choose a better location.
Step 4: Plan the wall opening and service route
Check both sides of the wall before drilling. Look for electrical cables, water pipes, structural parts and outdoor obstacles. Use the model template to place the opening.
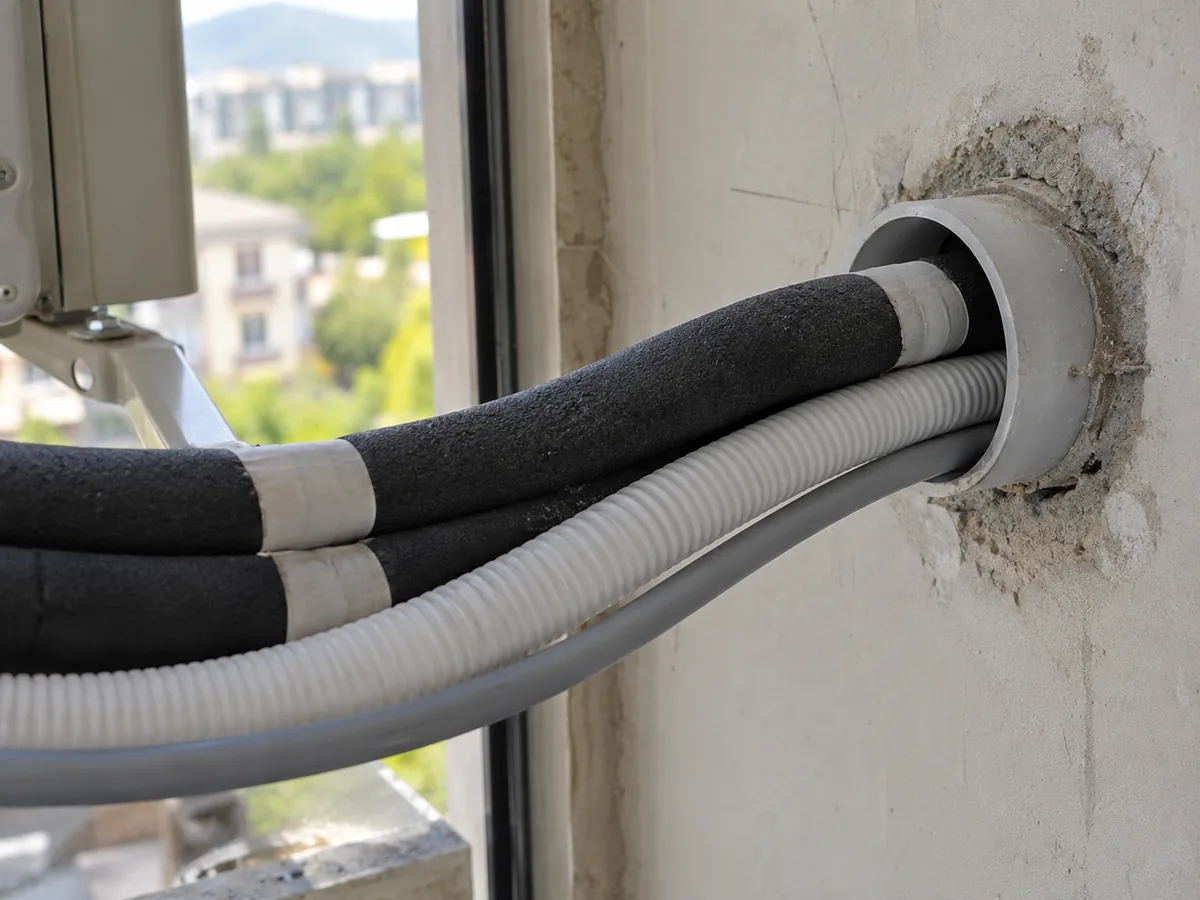
The route must protect the insulated refrigerant pipes, drain and cable. Avoid sharp edges, crushed insulation and tight bends. The drain also needs a clear path to the discharge point.
Step 5: Fix the indoor mounting plate and mount the unit
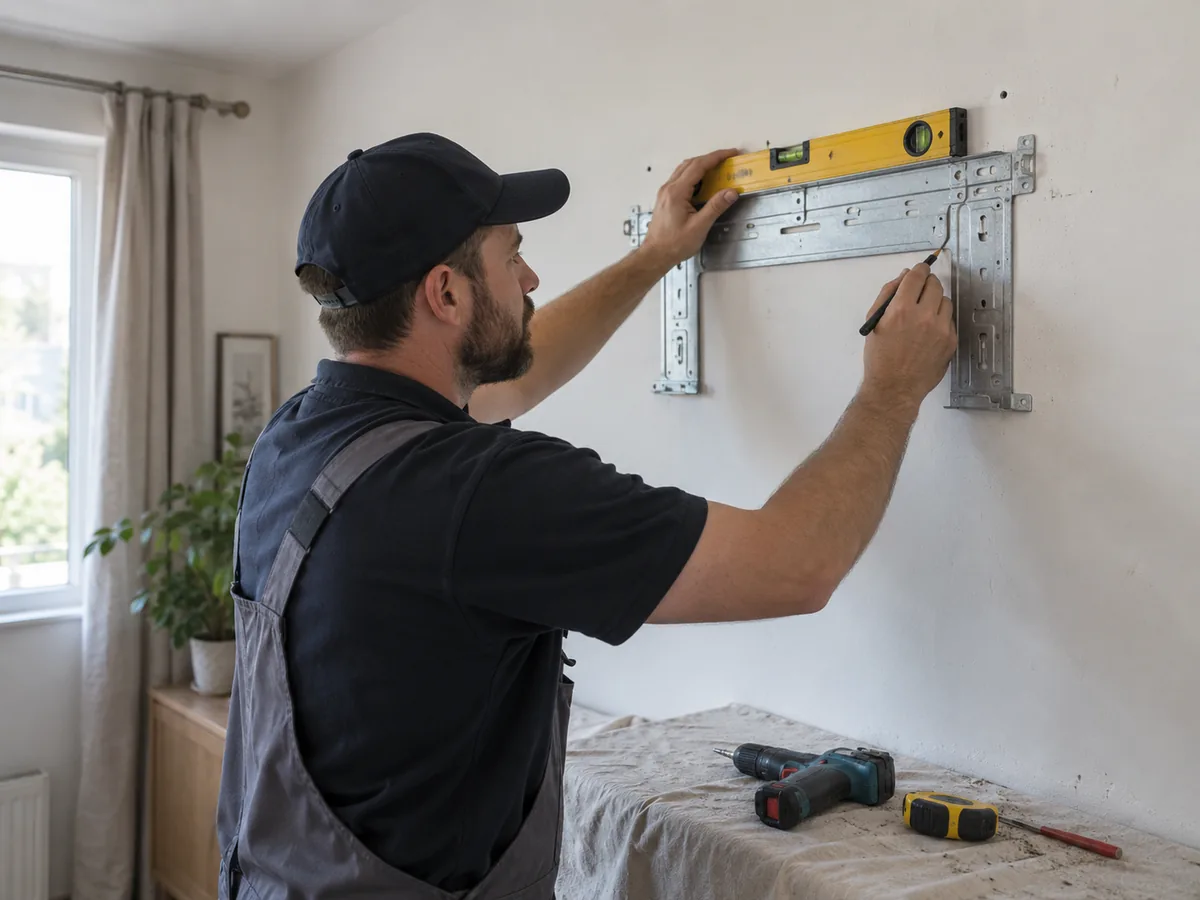
Level the mounting plate and fasten it to material that can safely carry the unit. A loose or twisted plate can cause noise. It can also make drainage worse.
Route the copper pipes, drain and cable without crushing or kinking them. After you hang the indoor unit, make sure it locks onto the plate and sits firmly against the wall. Seal the wall opening only after you have checked the route and drainage.
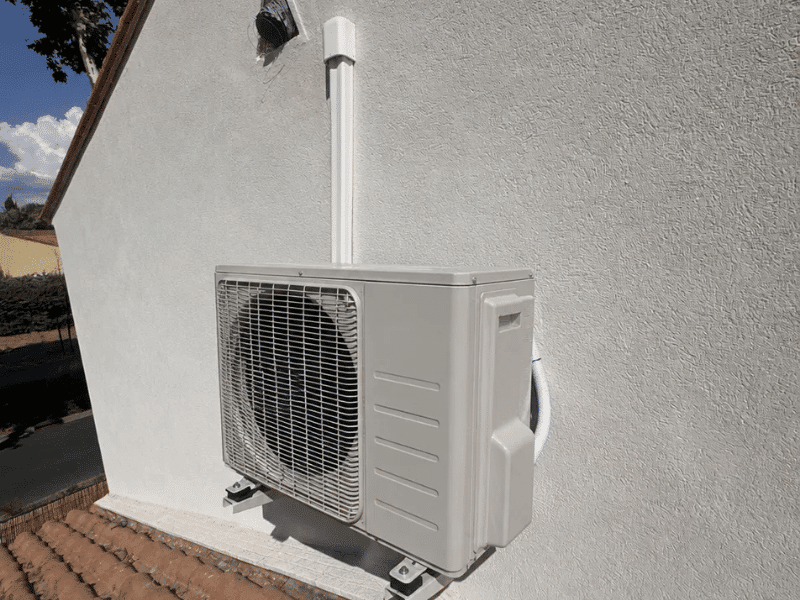
Step 6: Install and secure the outdoor unit
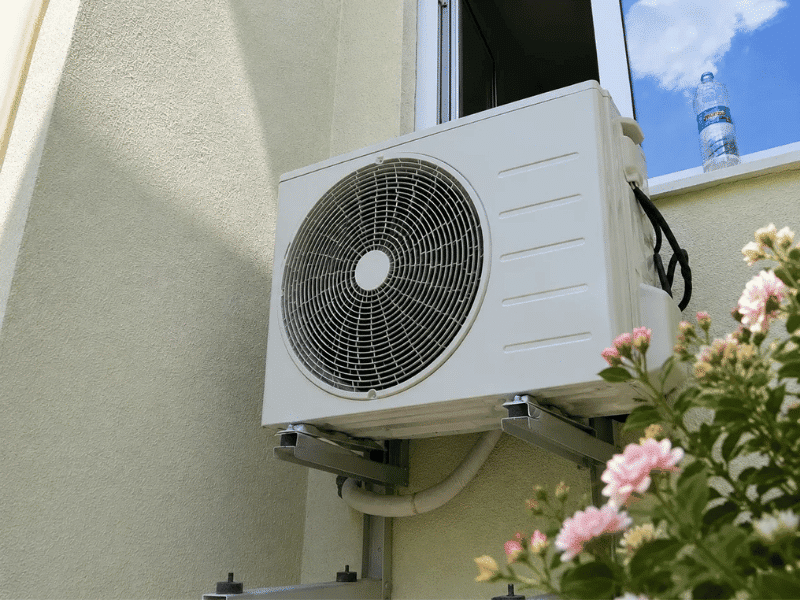
Set the outdoor unit on a suitable base or brackets. Keep it level and use vibration-control parts when the manufacturer or project needs them. Leave the exact clearances shown in the model manual.
Secure the unit for the local wind and building conditions. Also plan where rainwater, condensate or defrost water will go. Water should not create a slip risk, damage the building or freeze in a dangerous place.
Step 7: Prepare and connect the refrigerant pipes
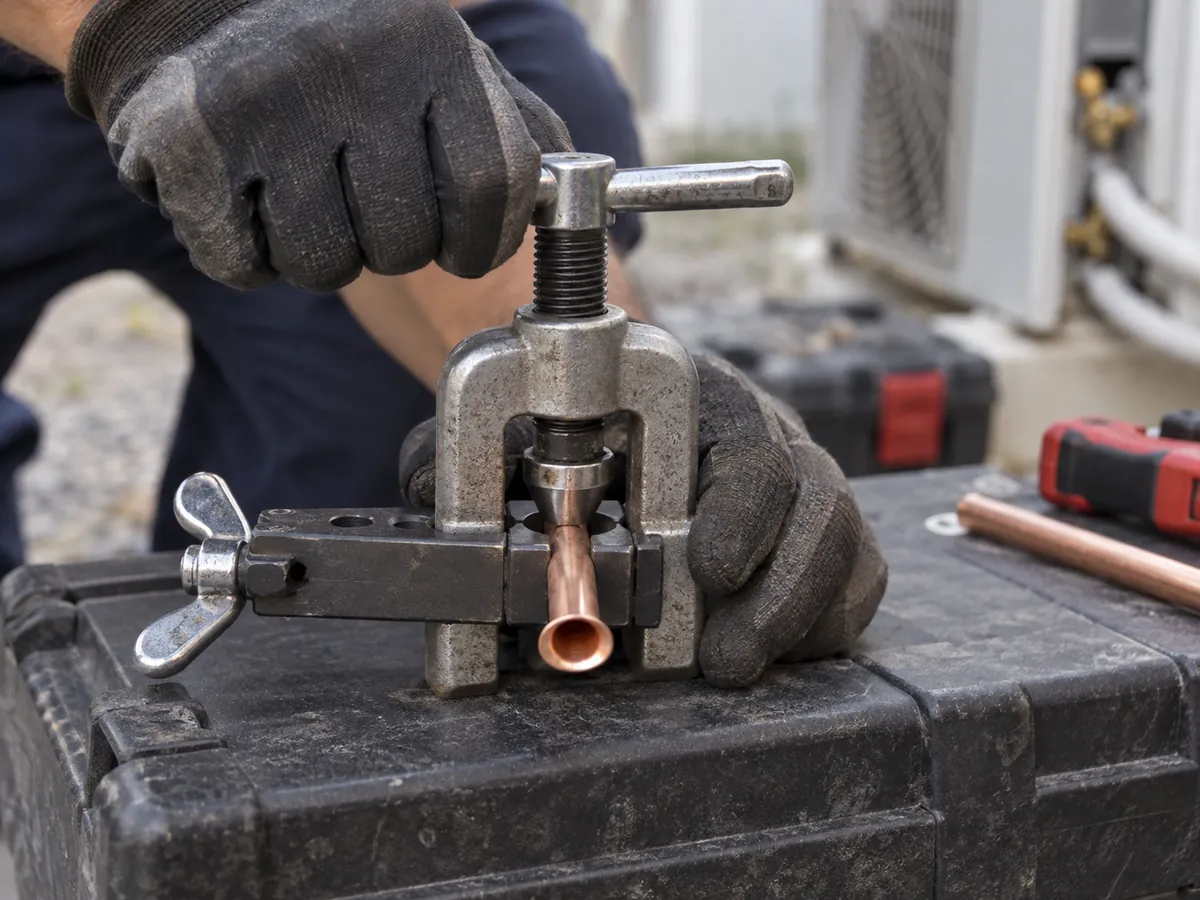
This work needs care. Keep copper tube ends clean, dry and capped until you connect them. Cut and bend the tube without flattening it or letting metal chips enter the circuit.
Many split systems use a widened pipe end called a flare connection. The flare must be formed correctly and tightened to the torque stated for that model and pipe size. Too little torque can cause a leak. Too much can crack or damage the flare.
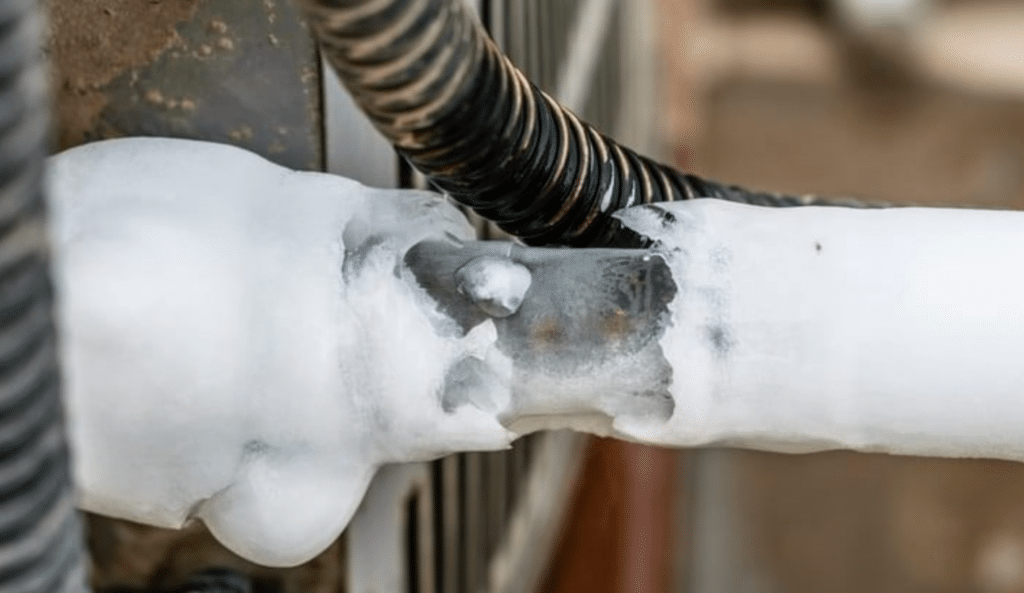
Insulate the refrigerant pipes and joints as the manual requires. This helps stop cold pipe surfaces from forming water droplets and reduces unwanted heat gain.
Step 8: Complete the electrical and control wiring
Electrical work must match the unit nameplate, wiring diagram and local electrical rules. Check the supply voltage, phase and frequency. Also check cable size, protective devices, disconnects, grounding and the control terminals between the indoor and outdoor units.
Do not assume every split system is wired the same way. Wrong terminals can cause communication faults. Loose connections, small conductors or wrong protection can cause overheating, electric shock or fire. Use a qualified electrician where local rules require one.
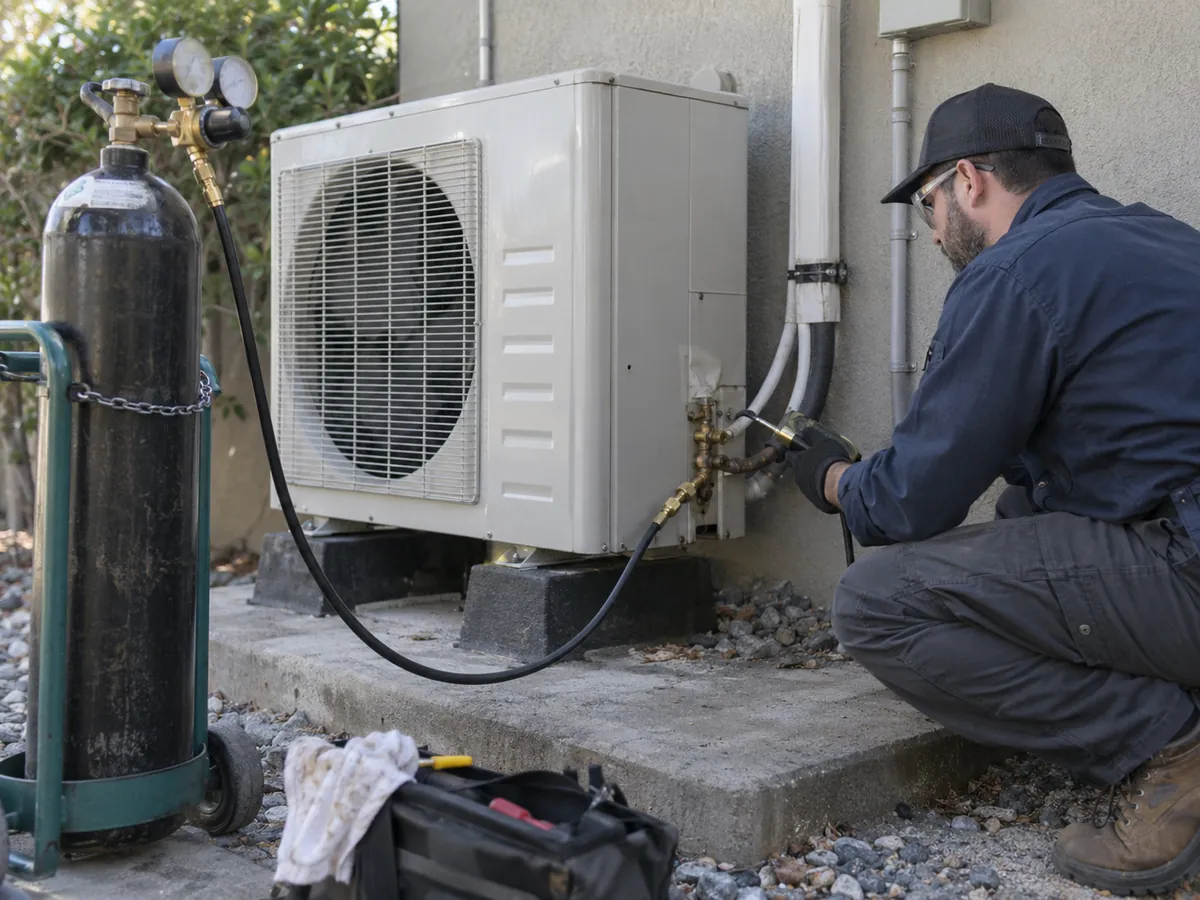
Step 9: Pressure-test the refrigerant circuit and check for leaks
Before releasing the factory refrigerant into the field pipes, check the completed circuit for leaks. Use the test method and test medium approved by the manufacturer.
The test should show that the pipe joints, service connections and field piping are tight. If you find a leak, repair it and test again. Never use oxygen to pressure-test a refrigerant circuit. The correct test pressure, hold time and method depend on the model and refrigerant.
Step 10: Remove air and moisture from the field piping
Before refrigerant enters the field piping, a technician needs to remove trapped air and moisture. This process is called evacuation or vacuuming the system.
A qualified technician uses the tools and target required by the manufacturer. The technician also checks that the vacuum stays stable. If it rises too much, there may be a leak or moisture still inside the circuit.
Skipping or rushing this step can leave air or moisture inside. That can reduce performance and shorten system life.
Step 11: Release or adjust the refrigerant charge
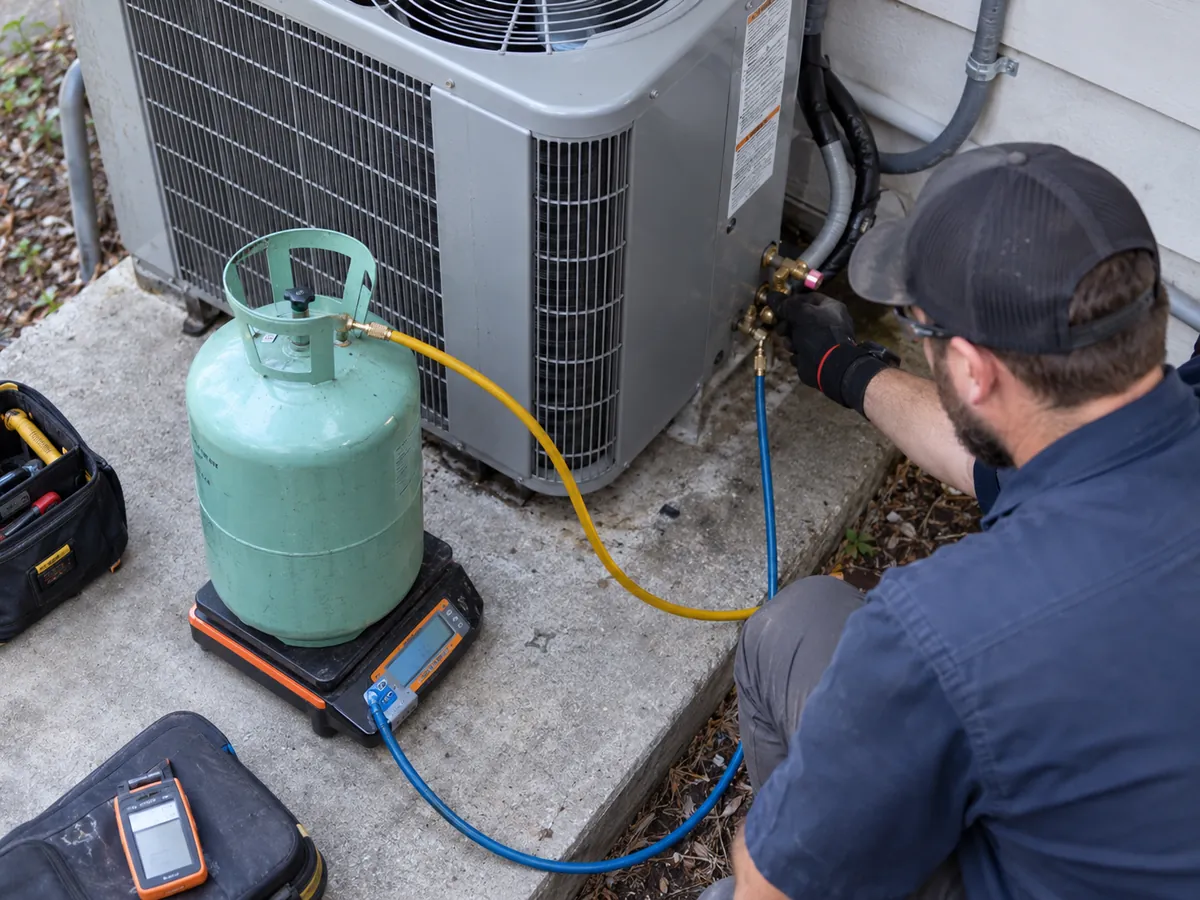
Many split systems leave the factory with refrigerant stored in the outdoor unit. That factory charge may cover only a stated pipe-length range. It does not mean every installation needs the same amount of refrigerant.
After the leak test and evacuation pass, the technician follows the exact manual. The technician opens the service valves and adds refrigerant only if the installed pipe length requires it. If you want to understand safe charging and why pressure alone cannot set the correct charge in every case, read our refrigerant charging guide.
Step 12: Test drainage, start the system and commission it
First, prove that condensate water drains freely. Make sure water is not collecting inside the unit or leaking from a joint.
Next, start the system in the required test mode. Check the indoor and outdoor fans, unusual noise or vibration, error codes, remote control, refrigerant circuit and electrical connections. Record the results required by the manufacturer or local rules.
This final set of checks is called commissioning. Simply turning the unit on is not enough.
What Makes a Split AC Installation More Difficult?
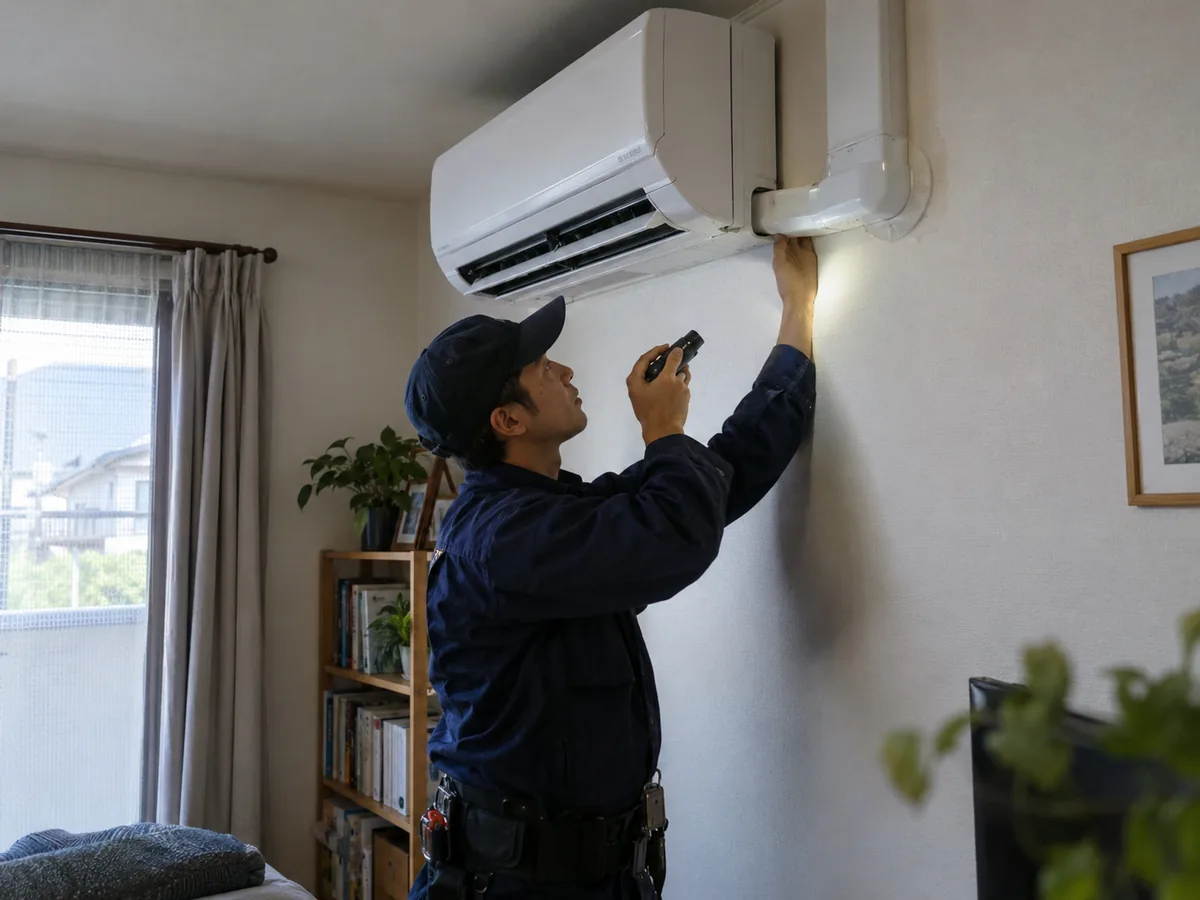
A short wall-to-wall installation is much easier than a long-pipe, high-rise or restricted-access job. Tell us about difficult site conditions before the model is approved. We can then check whether the product family or installation limits need to change.
| Site condition | What it means for the job |
|---|---|
| Long refrigerant pipe route | Check the maximum pipe length and any extra refrigerant rule. |
| Large height difference | The selected model must allow the real height difference. |
| No practical gravity drain | You may need a condensate pump and access for future maintenance. |
| Reinforced concrete or a difficult wall | Drilling, access and wall finishing take more planning. |
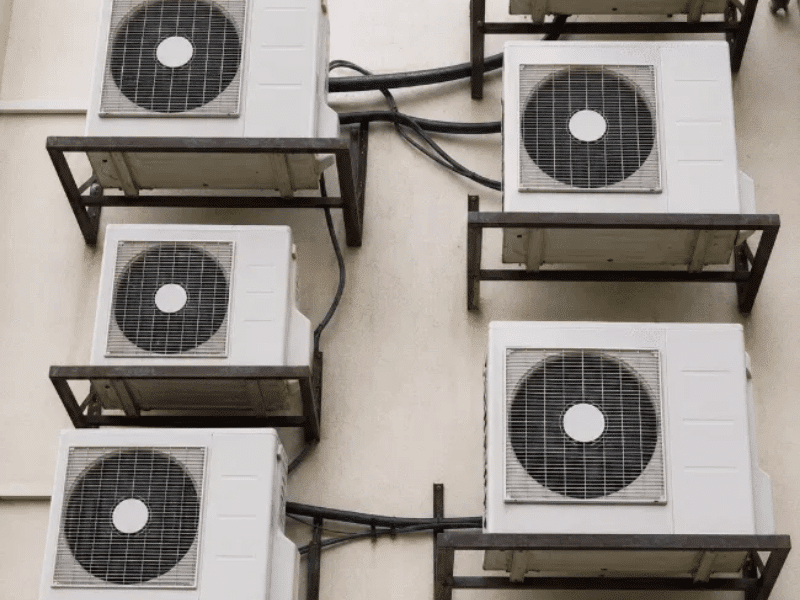
| High-rise outdoor unit | Lifting, fall protection, access and future service become more important. |
| Roof installation | Support, weather, drainage and service routes need extra planning. |
| Coastal or corrosive air | Corrosion protection becomes part of product and installation selection. |
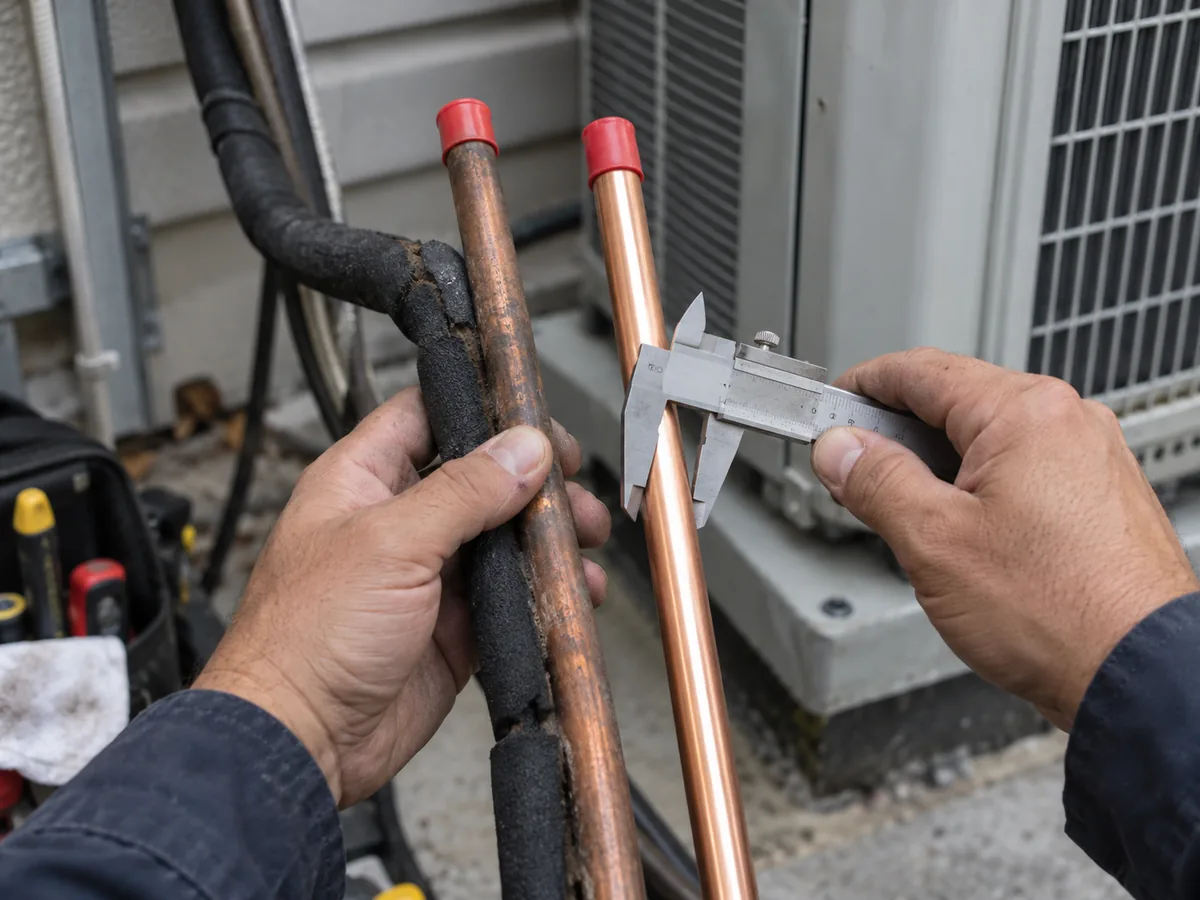
| Reuse of old refrigerant pipes | Check pipe size, condition, cleanliness, previous refrigerant and oil, and manufacturer rules. |
| Limited electrical capacity | The site power setup may need to change before the unit is approved. |
| Multi-split system | Piping, controls and final testing become more complex. |
How Long Does Split AC Installation Take?
There is no single installation time for every split AC. A simple single-split job may fit into one site visit. A difficult wall, long piping, roof access, electrical upgrades, permits or extra testing can make the job longer.
For planning, divide the work into four parts: site preparation, mounting and pipe work, refrigerant and electrical work, and commissioning. If the job needs scaffolding, roof access or electrical upgrades, include that time before the equipment arrives.
Common Split AC Installation Mistakes and What They Cause
| Common mistake | What goes wrong | What you may see | How to check it |
|---|---|---|---|
| Drain rises, sags or is blocked | Water backs up | Drips, stains or overflow | Drain test and slope check |
| Weak mounting or poor outdoor support | Vibration enters the structure | Rattle, movement or pipe stress | Check fixings, level and vibration |
| Dirty, damaged or badly flared copper | The joint cannot seal | Leak and lower capacity | Leak test and joint check |
| Pipe is not fully insulated | Cold surfaces collect water | Wet insulation or damage | Check insulation and joints |
| Airflow clearance is too small | Air is blocked or recirculates | Poor comfort or fault trips | Compare with the manual |
| Leak test or evacuation is skipped | Leaks, air or moisture may remain | Poor performance or failure | Check commissioning records |
| Wrong power or terminal connection | The circuit is wrong | Trips, faults or overheating | Check nameplate, diagram and test |
| Pipe route is too long | It exceeds model limits | Charge or reliability problems | Measure and compare with model data |
| Extra refrigerant is not recorded | No clear service baseline | Later diagnosis is harder | Record amount and reason |
| No service space is left | Service parts are hard to reach | Maintenance becomes difficult | Check service clearances |
Split AC Installation Acceptance Checklist
A split AC installation is not complete just because the unit turns on. The drain, refrigerant circuit, electrical supply, pipe route and final operating checks all need to pass. Check the finished work against the manual for the exact model and keep written records where the project or local rules require them.
| What to check | What a pass looks like | What proves it |
|---|---|---|
| Indoor unit | Secure, in the right position and easy to service | Visual inspection |
| Outdoor unit | Stable, level, well ventilated and easy to service | Visual inspection |
| Refrigerant pipe route | Pipe size, length and height difference are inside model limits | Installation record |
| Refrigerant joints | No leak is found | Leak-test record |
| Pipe insulation | Complete, sealed and protected | Visual inspection |
| Condensate drain | Water flows out freely without backing up or leaking | Drain test |
| Electrical supply | Matches the unit data and local electrical requirements | Electrical check |
| Extra refrigerant | Added only when the model rules and real pipe length require it | Charge record |
| Test run | No unresolved error, unusual noise or operating problem | Commissioning record |
| Documents | Required manuals and installation records are kept | Handover package |

- the exact indoor and outdoor model pair;
- the installed refrigerant pipe length and height difference;
- whether extra refrigerant was needed and how much was added;
- the leak-test method and result;
- the evacuation result required by the model procedure;
- the drain test result;
- power-supply and electrical protection checks;
- test-run observations, fault codes and final operating condition.
For a multi-unit project, put these checks into the installation scope before the order is confirmed. This makes it clear who is responsible for brackets, pipe protection, condensate pumps, electrical disconnects, long-line refrigerant, electrical work and commissioning records.
What Airproz Checks Before You Order
Once we have the basic project conditions, we check the equipment-side limits before the final model is locked. This helps avoid choosing a unit that fits the room on paper but does not fit the real installation.
| Project input | What we check |
|---|---|
| Cooling or heating load | Suitable capacity family |
| Outdoor design temperature | Climate and operating suitability |
| Voltage, phase and frequency | Electrical compatibility |
| Estimated pipe length | Maximum line-length limit and charge rules |
| Height difference | Allowable vertical separation |
| Indoor and outdoor locations | Airflow, service and installation limits |
| Target country or market | Certification and document requirements |
| Coastal or corrosive site | Whether extra protection needs to be considered |
| Quantity | Project configuration and RFQ scope |

What to Send Airproz First
You do not need every installation detail before you contact us. Start with these five items. We can tell you what else is needed before model selection.
| Start with | What to provide |
|---|---|
| Country or target market | Where the equipment will be installed |
| Application | Home, office, hotel, shop or other project type |
| Room or load information | Design load if available; otherwise room and use details |
| Power supply | Voltage, phase and frequency if known |
| Quantity | Number of systems required |
Helpful If You Already Have It
Also send the outdoor design temperature, proposed indoor and outdoor locations, estimated pipe length, height difference, drain route, drawings, coastal exposure and required certification documents when they are available.
What You Receive From Airproz
After we review the project information, we can narrow the equipment direction and show you which installation points still need to be verified. This keeps the RFQ useful even when the project is not fully designed yet.
| Our response | Why it helps |
|---|---|
| Suitable product-family direction | Narrows the search |
| Capacity or configuration direction | Helps avoid an obvious mismatch |
| Key model data to verify | Shows which pipe, height, power or clearance limits matter |
| Market-document check | Flags certification or document needs |
| RFQ requirements | Shows what is still needed for a useful quotation |
| Remaining project questions | Closes the selection gap before final approval |

Why Work With Airproz on a Split AC Project?
Our role is to help you match the equipment to the real project conditions before the model is finalized. We start with load, climate, power and installation limits instead of choosing a unit from room area alone.
- Project-first matching: we use the site conditions to narrow the product family.
- Model-specific checks: we separate verified model data from general installation guidance.
- Clear installation handoff: we point out which items still need the local installer, electrician or refrigerant technician to verify.
If you are still comparing systems, review our air conditioner range, our guide to inverter air conditioners, and our air conditioner project examples.
Start simple: send the country, application, room or load information, power supply and quantity. If you already have pipe-route or installation drawings, include them too.
What happens next: we can narrow the suitable product family, identify the model-specific limits that still need checking, and tell you what information is needed for the RFQ.
RFQ action: Request a project-matched split AC.

Frequently Asked Questions
Can I install a split system air conditioner myself?
You can measure the site, suggest indoor and outdoor locations, and prepare access information. However, refrigerant work, fixed electrical work and final commissioning may need qualified or licensed people. The exact rule depends on the country and equipment.
Does every split AC need to be vacuumed during installation?
Field-connected split systems normally need the field pipes to be evacuated before the factory refrigerant charge is released. This removes air and moisture. Use the vacuum method and target in the exact model manual, not a generic number copied from another system.
How far can the indoor and outdoor split AC units be apart?
There is no single distance for every model. Check the maximum pipe length, height difference, number of bends and extra refrigerant rules in the exact model documents. If your route is long or has a large height difference, send those measurements to Airproz before you lock the model.
Should the split AC drain hose always slope downward?
If the system uses gravity drainage, the hose needs a steady downward fall. Avoid sags, rises and submerged outlets that can trap water. If gravity drainage is not practical, you may need a suitable condensate pump.
Can old refrigerant pipes be reused for a new split system?
Do not assume they can. Check the pipe material, size, wall thickness, condition and cleanliness. Also check the old refrigerant and oil, the joints, and the new manufacturer’s reuse rules before connecting a new unit.
How long does split AC installation take?
There is no single installation time. A simple single-split job may fit into one site visit. Difficult walls, long piping, roof or high-rise access, drainage work, electrical upgrades, permits and extra commissioning work can make the job longer.
Does a split air conditioner need a dedicated electrical circuit?
Do not assume every split AC uses the same circuit. Check the unit nameplate, installation manual and local electrical rules. The protective device, wire size, disconnect and supply arrangement can change by model and market.