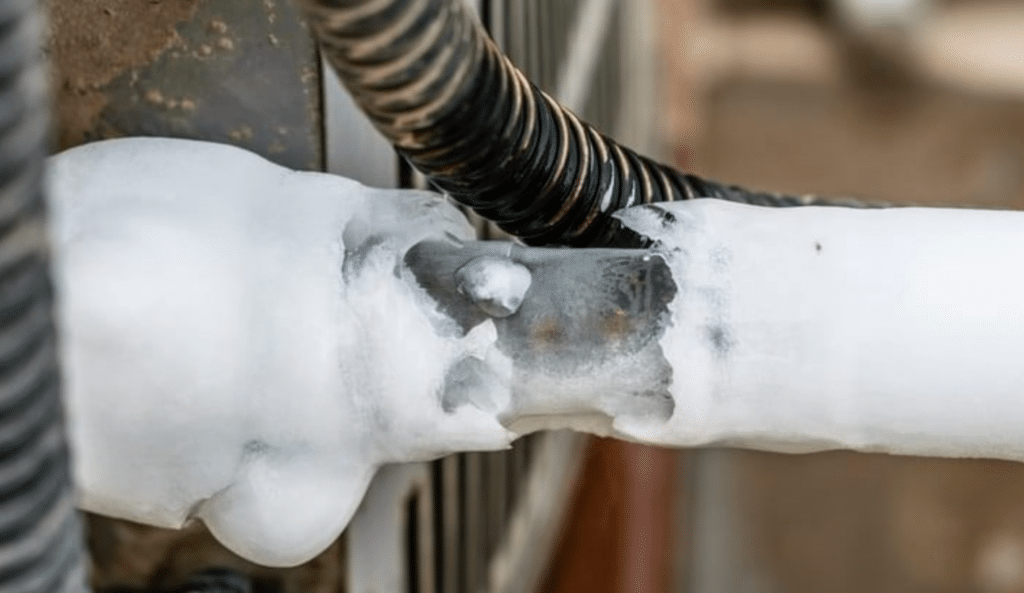
Quick answer: A ductless heat pump uses an outdoor unit and one or more indoor units to heat and cool rooms without air ducts. Before installation, check how much heating and cooling each room needs, where the units can fit, and how the pipes, drain and power cables will reach them. A qualified installer then mounts and connects the equipment, checks for leaks and drainage problems, and tests heating, cooling and controls. The exact clearances, pipe limits, electrical requirements and tests depend on your model and local rules.
What Must Be Checked Before Installing a Ductless Heat Pump?
First, find out how much heating and cooling each room needs and how cold or hot your area gets. Then check that the chosen indoor and outdoor units work together and can meet those needs. Floor area alone cannot tell you the correct system size. A unit’s advertised capacity also may not be its heating output on the coldest day.
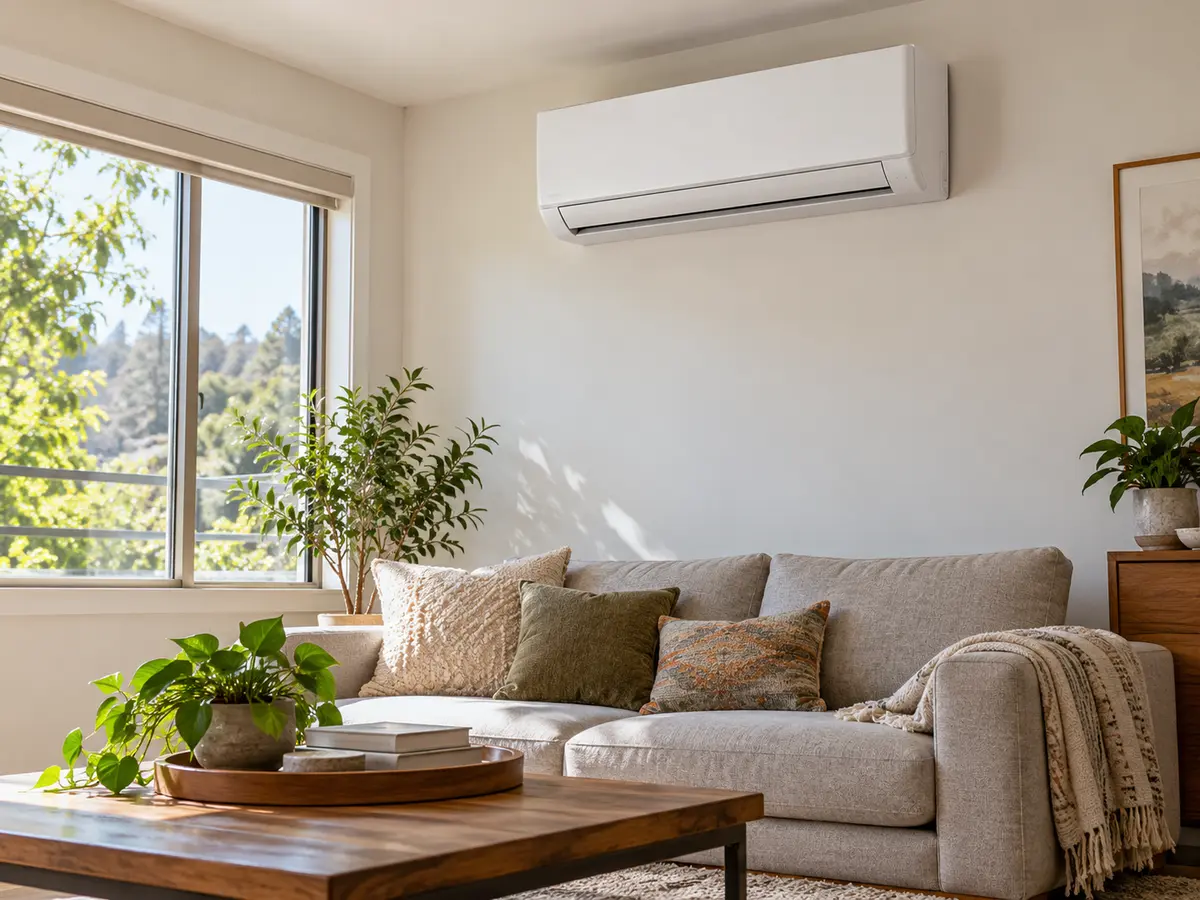
Most ductless heat pumps have one outdoor unit connected to one or more indoor units that blow warm or cool air into rooms. A typical ductless mini-split heat pump is an air-to-air heat pump: it heats or cools room air rather than sending heated water to radiators. A cooling-only mini-split cannot heat the room; a heat-pump model can both heat and cool it. Decide which rooms need their own temperature control and whether you will keep another heater as backup. For example, an indoor unit in a hallway may not heat a bedroom well when the door stays closed.
- Room heating and cooling needs: ask for a room-by-room load calculation. It should consider insulation, windows, air leaks, sun exposure, people, equipment and local temperatures.
- Cold- and hot-weather performance: check how much heat the exact system delivers at your area’s winter design temperature, and its cooling performance in summer. BTU/h (British thermal units per hour) describes a rate of heating or cooling, not guaranteed output at that winter temperature. Do not choose from the nominal rating alone.
- Installation space: check where air will blow, wall strength, access for service, pipe routes, a gravity drain, outdoor airflow, noise and snow or flood exposure.
- Power and approvals: check electrical supply, dedicated circuits where required, permits, refrigerant rules and any homeowner-association restrictions before fixing unit locations.
If a closed bedroom will not receive enough air from a hallway unit, consider a separate indoor head or a different approved air-distribution layout. If the preferred wall has no safe drain route or outdoor clearance, change the locations before equipment is ordered rather than forcing the original plan. For an older-home retrofit, compare the existing ducts or radiators, each room’s heating load and the proposed ductless layout before selecting a new distribution approach.
How Do You Size a Single-Zone or Multi-Zone System?
Size each room first, then choose indoor and outdoor units that the manufacturer approves for use together. In the U.S., contractors commonly use an ACCA Manual J calculation to find the home’s heating and cooling loads. They use the applicable Manual S selection method and product performance data to choose equipment. The number of indoor units depends on room layout, airflow and temperature-control needs—not floor area alone.
A multi-zone outdoor unit must share its available heating or cooling output among the indoor units that are running. Adding together the capacities printed on all indoor units may give a larger number than the outdoor unit can supply at once. Also check how low the system can turn its output down (minimum modulation): an oversized system may cycle on and off or leave rooms at uneven temperatures.
If several rooms need heat at the same time during a cold spell, compare their combined design heating load with the outdoor unit’s published heating output for the approved indoor-unit combination at your local winter design temperature. Check whether the manufacturer’s performance data accounts for defrost or lists other operating limits; do not guess a correction. If the available output falls short, identify which rooms need backup heat and how that backup will be controlled. A nominal BTU/h rating or a minimum operating-temperature claim is not enough to make this decision.
Even if the outdoor unit can meet the combined heating load, check whether each indoor unit can deliver enough heat to its own room when the relevant zones operate together. The approved indoor-unit combination, available airflow, closed doors and control settings can affect how that output reaches each space. Compare each room’s design load with the applicable manufacturer performance data for the proposed combination and operating conditions; if the required room output is not documented, ask the system designer to verify it before confirming the layout.
A heat pump selected to cover high winter heating demand may still be too large for a small cooling load on a mild, humid day. If its minimum cooling output stays above the room’s need, it may cycle frequently and remove less moisture than expected. In a humid climate, have the contractor check both summer cooling and moisture-removal needs, the model’s minimum cooling output and any published sensible and latent cooling data for the relevant conditions. Do not assume a high seasonal efficiency rating proves good humidity control in every room.
How Is a Ductless Mini-Split Heat Pump Installed?
A typical ductless mini-split heat pump installation has eight stages: check the design and permits; choose locations; plan the lines and drain; mount the units; connect the system; check for leaks; test heating, cooling and controls; and hand over the records. Your installer’s detailed steps and pass/fail limits must come from the exact model’s installation manual.
| Stage | What happens | What to check |
|---|---|---|
| 1. Design | Confirm room loads, models, site access and required approvals. | Room-by-room loads, local design temperatures, approved equipment match and permits. |
| 2. Position | Select indoor/outdoor locations and mounting supports. | Clear airflow, space for servicing, secure mounting, vibration and neighbor noise. |
| 3. Route | Plan wall openings, refrigerant lines, wiring and the water drain. | Model-approved line length and height difference, drain slope, insulation and safe water outlet. |
| 4. Mount | Secure the indoor bracket and the outdoor base or approved supports. | Level support and secure fixing; check drain fall, vibration and model clearances. |
| 5. Connect | Qualified workers connect wiring and the refrigerant system. | Correct wiring, connection methods and required licenses or certifications. |
| 6. Test | Qualified technicians carry out required leak checks and evacuation. | Documented leak-test results, evacuation records and charge adjustments if needed. |
| 7. Commission | Test heating, cooling, drains and controls in suitable conditions. | Recorded conditions and results; list any tests that need follow-up. |
| 8. Handover | Give the owner operating guidance, manuals and records. | Commissioning results and required permit or inspection records. |
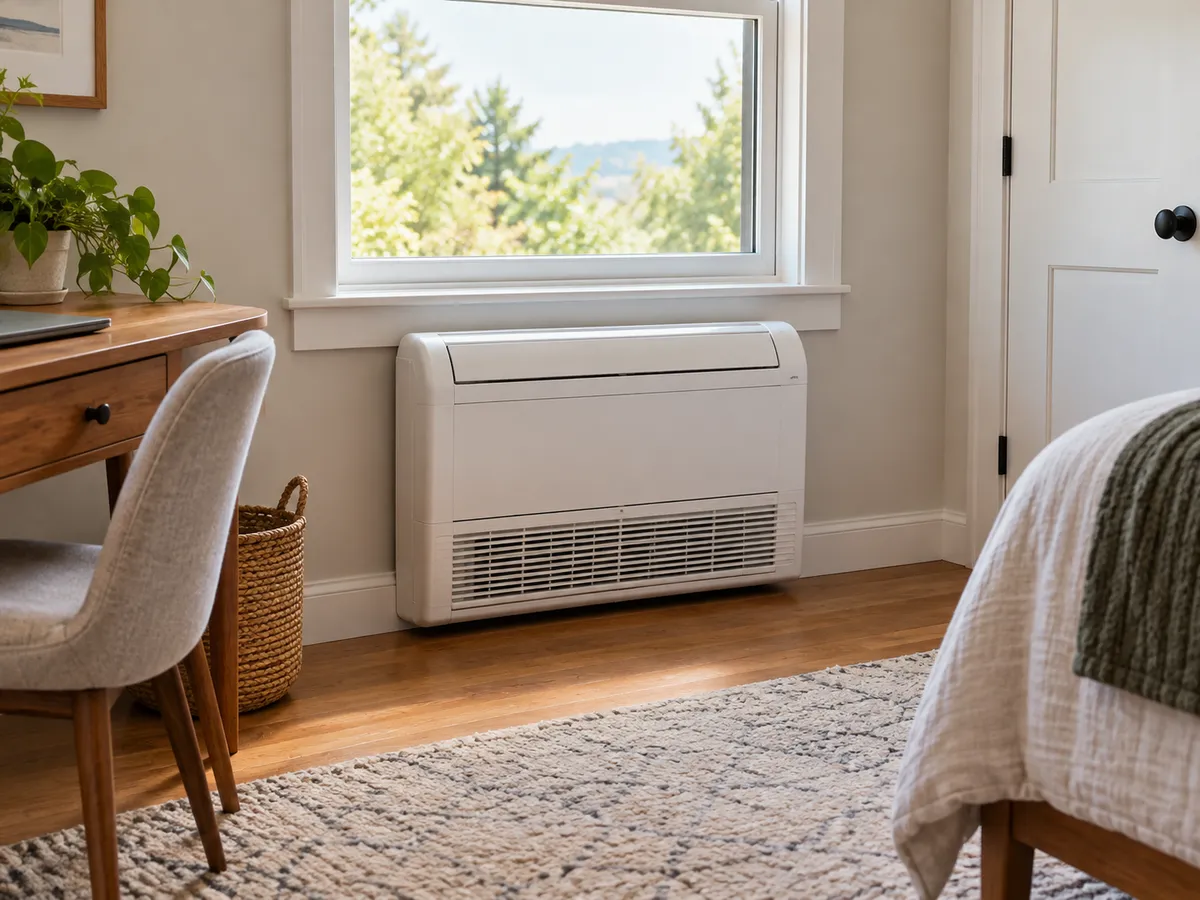
You can review proposed locations and keep the records, but people with the credentials required for each task and location must perform restricted electrical and refrigerant work.
Before the installation crew arrives, clear access to the planned indoor and outdoor locations, confirm where equipment will be delivered, and keep pets and occupants away from the work area. Ask the contractor to confirm the exact indoor and outdoor model numbers and the approved mounting locations before any holes are made. Leave electrical isolation, drilling checks and refrigerant work to the qualified people responsible for those tasks.
Where Should the Indoor and Outdoor Units Go?
Place each indoor unit where its air can reach the part of the room people use. Keep the air outlet clear, and choose an outdoor location with enough open space for airflow and service. Check that the wall or ceiling can support the indoor unit, that the drain can slope the right way, and that the airflow will not blow uncomfortably over a bed or sofa. Use your model’s manual for mounting height rather than copying a universal measurement.
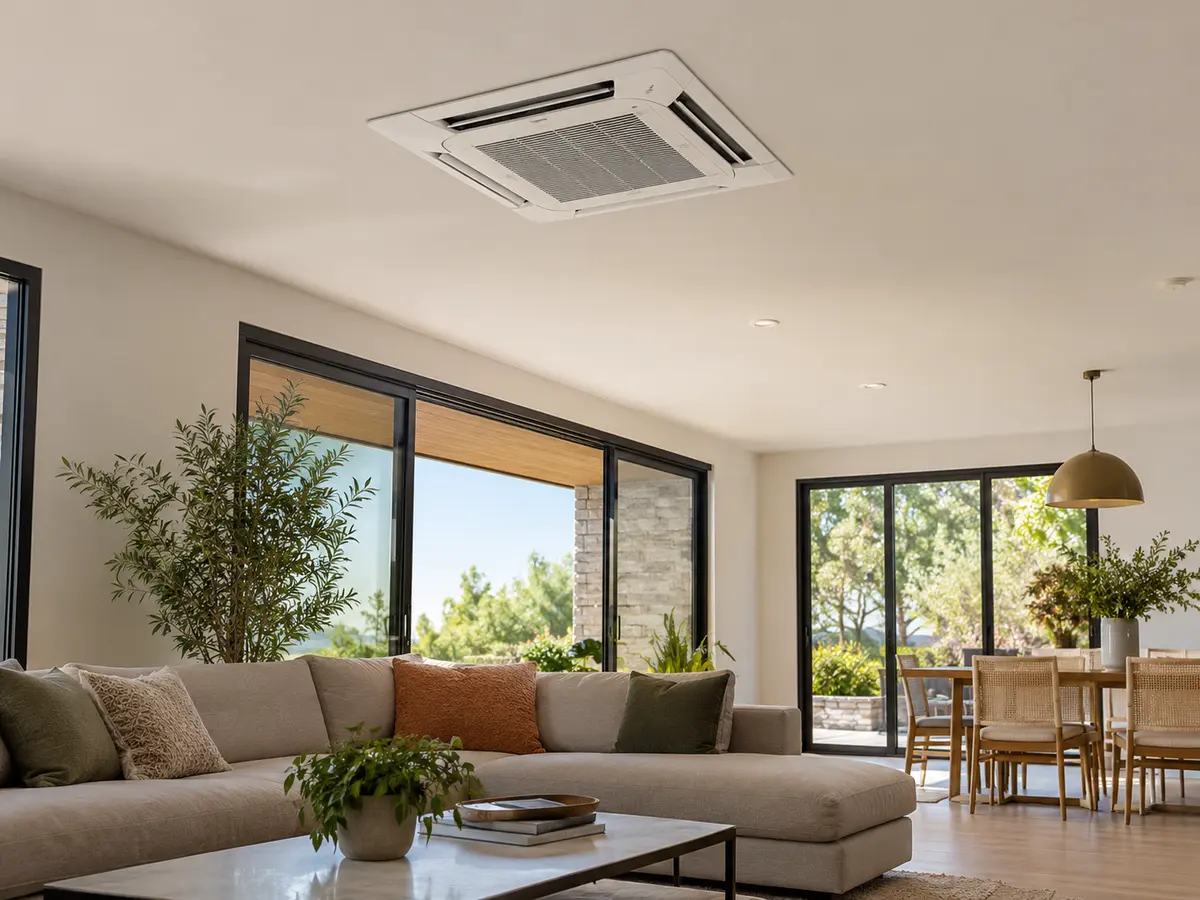
A wall-mounted indoor unit is common, but it is not the only possible layout. Some approved systems offer floor consoles, ceiling cassettes or compact ducted indoor units. A floor console may suit a room with limited high-wall space; a cassette needs suitable ceiling space and service access; a compact ducted unit also needs correctly designed short ducts. Check which indoor-unit types your exact outdoor unit supports and how each option changes the drain route, airflow and access for cleaning.
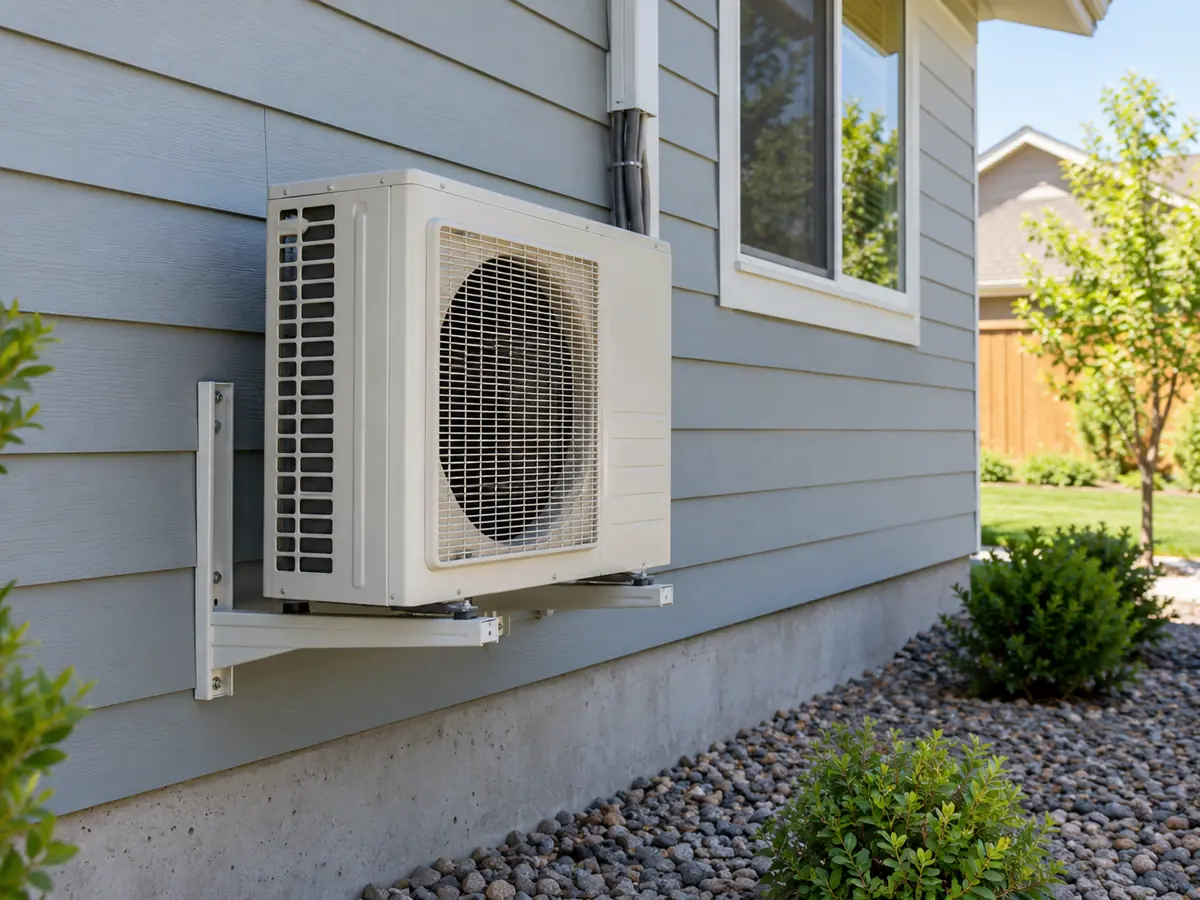
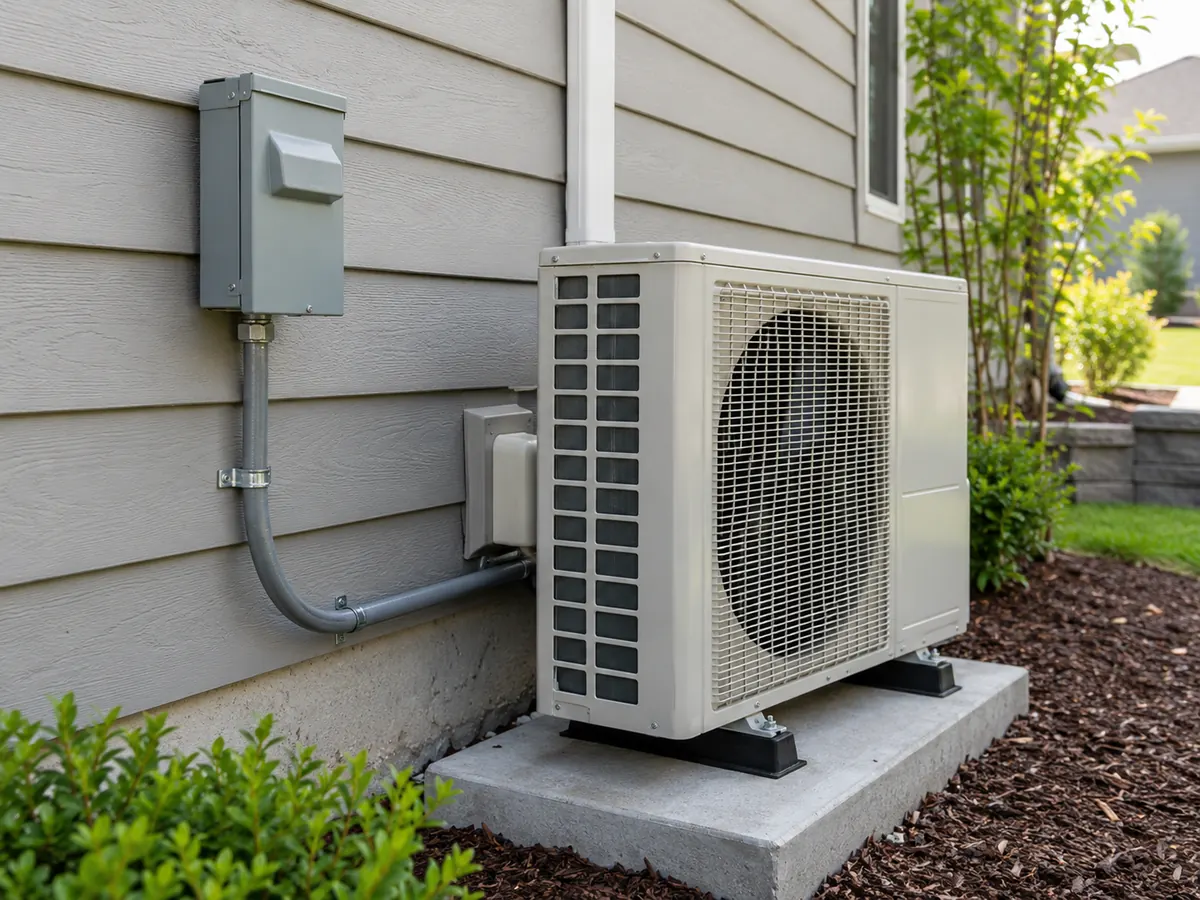
Install the outdoor unit on a stable base or properly designed wall brackets. Leave the intake and outlet spaces shown in the model’s manual, and give rainwater and defrost water a safe place to drain. If the unit sits in a narrow recess, it may pull its own discharged air back through the coil and lose performance. In snowy areas, allow for snow buildup, drifting and service access. In an apartment building, also check permission to mount the unit, noise near neighbors and access to shared areas.
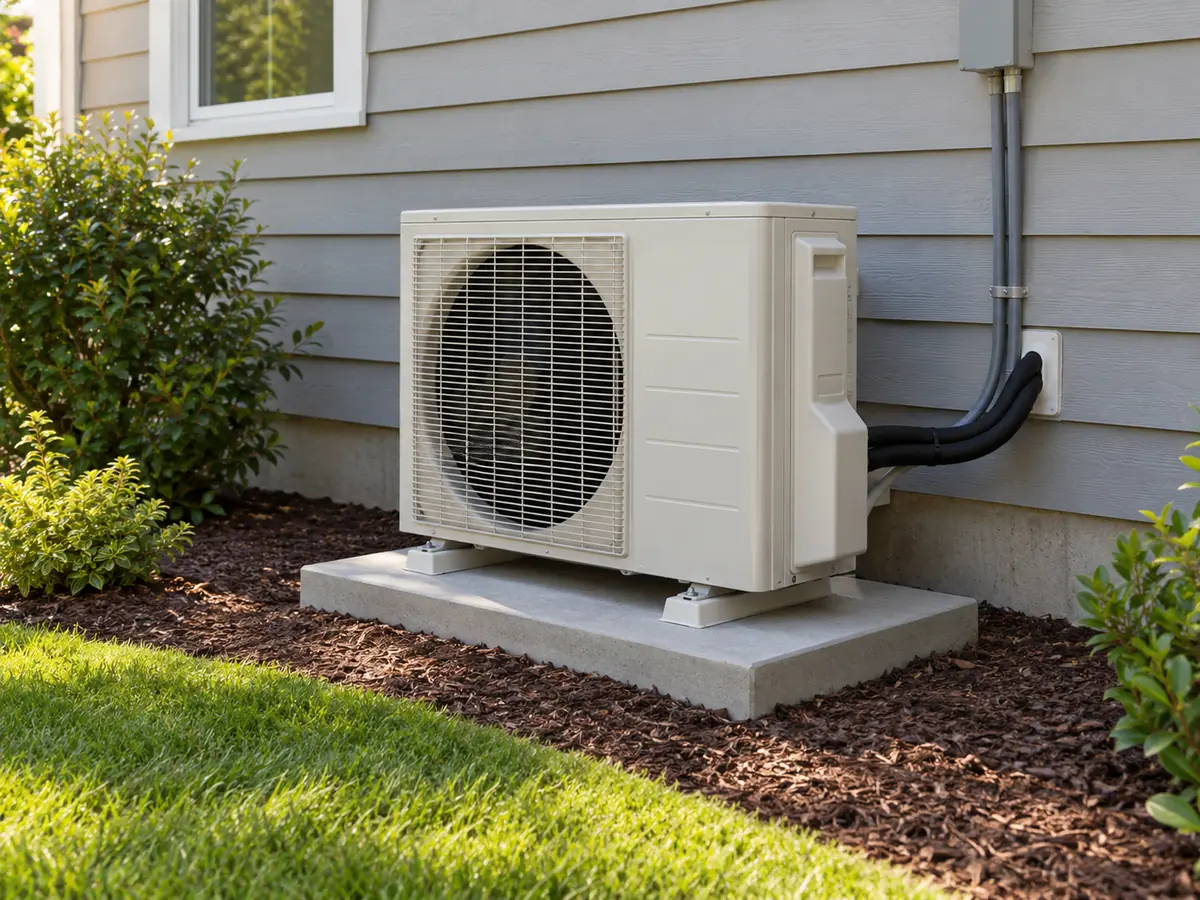
If outdoor-unit noise matters near a bedroom or neighboring property, check whether the manufacturer reports sound power or sound pressure and under what conditions. The sound heard at a specific location also depends on distance, nearby reflecting walls, vibration and operating mode. Have the installer assess the planned position against applicable local noise requirements; a single brochure dB value is not a guaranteed sound level at a neighbor’s window.
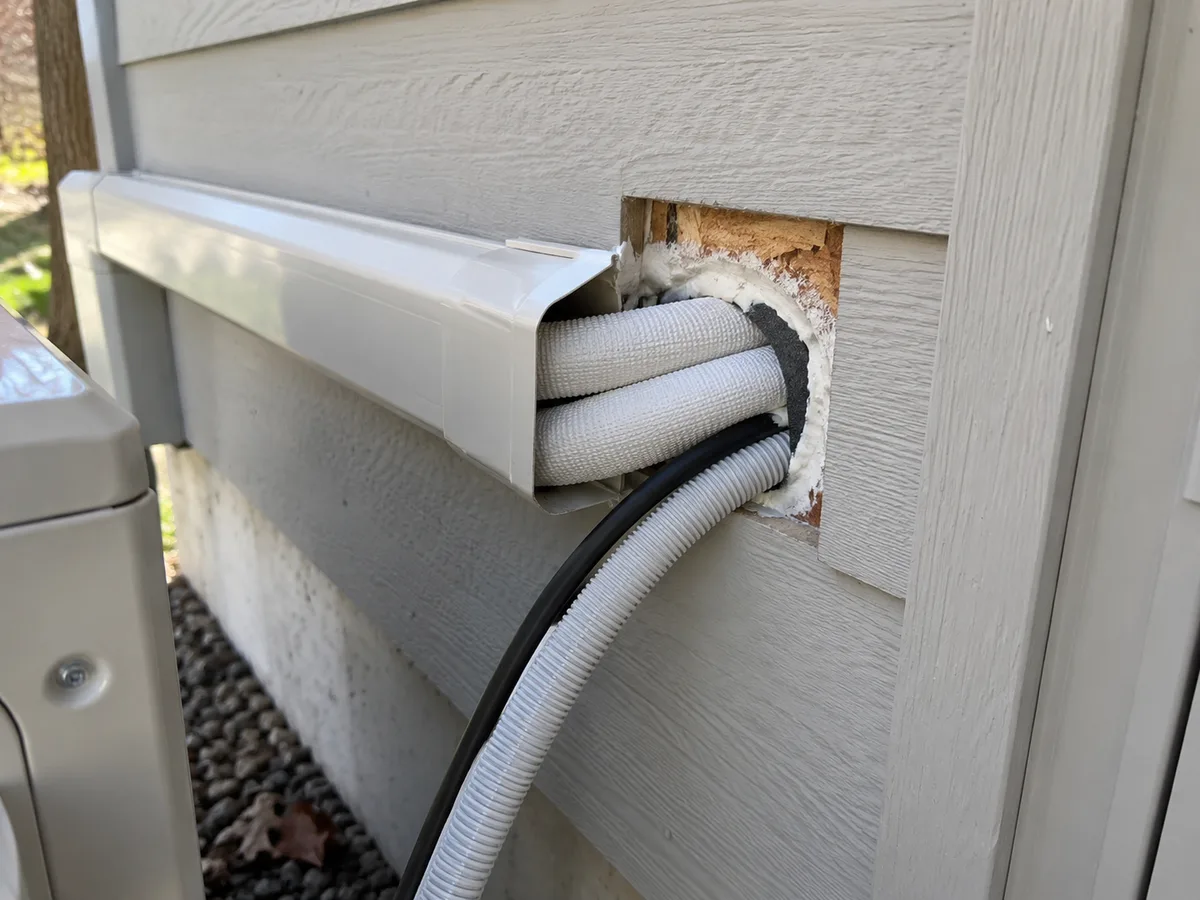
Before opening a wall, the contractor should verify the proposed route against concealed wiring, plumbing and structural elements. The penetration must follow applicable building requirements and the approved equipment route. Confirm that the finished opening is sealed and weatherproofed without trapping or damaging the refrigerant-line insulation or condensate drain. A convenient drilling location is not automatically a safe one.
In freezing weather, water released during defrost may refreeze after it reaches the ground. Keep the discharge path away from walkways, steps and places where ice could block access or damage the building. Follow the exact model’s instructions and local requirements for drainage and any approved cold-weather accessories; do not assume every outdoor unit needs the same drain-pan arrangement.
How Are Refrigerant Lines, Wiring and Condensate Routed?
Plan a route that stays within the selected model’s pipe-length, height-difference and bend limits. The indoor and outdoor units usually connect through insulated refrigerant lines and power or control wiring. A separate drain removes water produced during cooling. Seal wall openings against weather, and do not crush pipe insulation or leave a path for water to enter the building.
A line route can be inside the stated maximum length and still require model-specific checks. Before fixing the route, ask the installer to confirm the permitted pipe sizes, vertical separation, any additional refrigerant charge and any performance adjustment stated in the exact model’s documentation. Do not assume that two routes of different lengths have the same installation work or operating result.
If a wall obstruction or access problem forces the contractor to move an indoor unit or change a planned line or drain route, update the layout and recheck the affected installation requirements before proceeding. Confirm the exact model’s pipe-length and height limits, any stated charge or performance adjustment, the drain path, safe wall penetrations and electrical routing. A site change that looks minor can invalidate an earlier equipment or installation check.
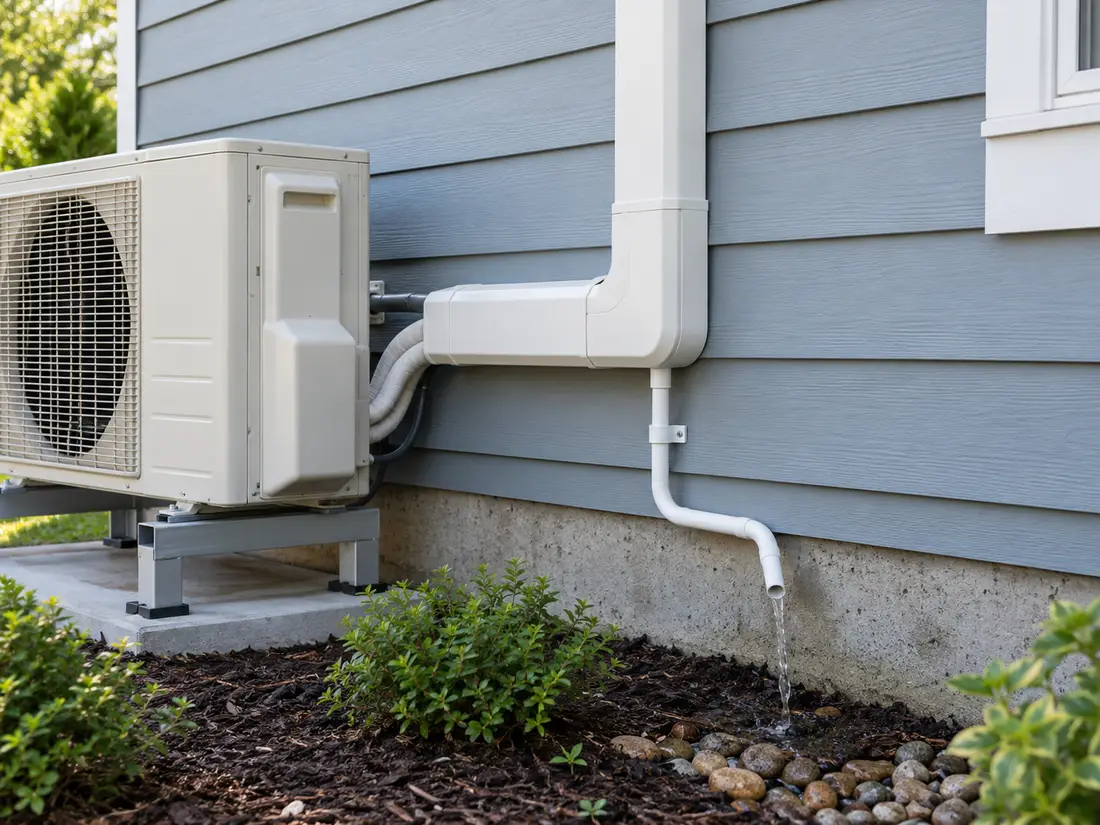
When the indoor unit cools a room, moisture in the air turns into water. That water is called condensate, and it needs a safe drain route. A gravity drain must slope continuously toward an approved outlet, without low spots where water can collect. If the drain cannot slope downward, the system may need a model-approved condensate pump and any required alarm or overflow protection. Protect the discharge against freezing where needed. Test that water reaches the outlet: a drain may work briefly in dry weather but overflow during a long, humid cooling period.
Important safety limits: Do not copy pipe diameters, maximum line lengths, evacuation targets, refrigerant charge amounts, connection torque or electrical protection settings from another model. The correct values depend on the exact equipment and its instructions. Refrigerant mistakes can cause leaks and safety problems, so authorized technicians must carry out that work under applicable codes.
What Electrical and Refrigerant Work Requires a Professional?
Use properly qualified people for electrical wiring and refrigerant-circuit work, with the licenses or certifications required locally. The electrician must check the equipment label and instructions to choose the right voltage, circuit, protective devices, shutoff switch (disconnect), grounding and wiring method under local rules. A unit marked “115 V” or “230 V” still needs the correct circuit design.
The listed voltage is only one part of the electrical check. A qualified electrician must also compare the model’s circuit and protection requirements with the available electrical service and the other loads in the building. If the plan includes separate backup heaters or extra equipment, their electrical demand also matters. An electrical upgrade, if needed, changes the installation scope, cost and schedule; do not select breaker sizes or wiring from a generic online example.
In the United States, EPA Section 608 certification is required for work on stationary mini-split refrigerant systems that can release refrigerant. EPA guidance includes adding or removing refrigerant and connecting or disconnecting pre-charged refrigerant lines in those circumstances. A product sold as “DIY” or “pre-charged” does not automatically remove electrical-code, permit or refrigerant-handling requirements. Safety rules also depend on the refrigerant in the exact model, so do not assume two mini-splits follow the same handling rules.
What Happens During Start-Up and Commissioning?
Start-up testing, also called commissioning, checks that the finished system does more than turn on its indoor fan. The qualified contractor follows the model’s required leak checks and air-removal (evacuation) procedure, confirms any refrigerant charge adjustment, and checks the wiring and communication connections before powering the system. Then they test the operating modes that the weather and manual allow, and record the temperatures, settings and test results.
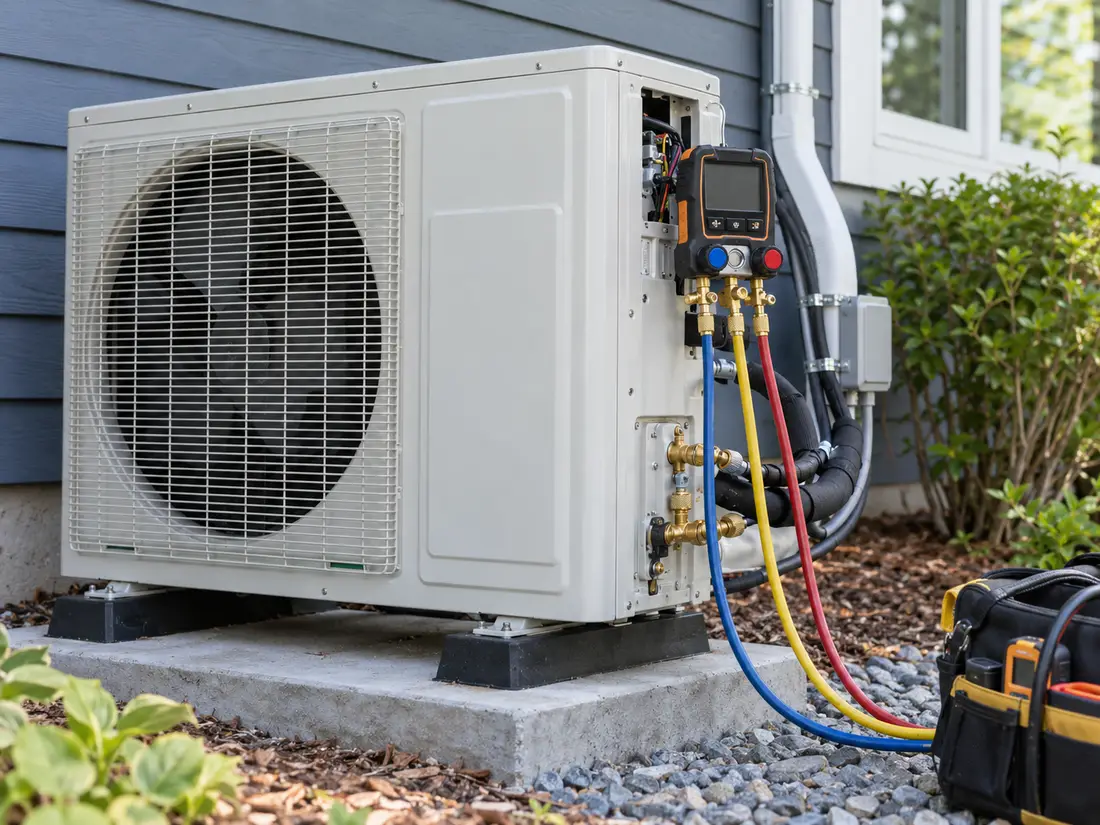
Check that the drain carries water away during the model’s required water test. Confirm that nothing blocks indoor or outdoor airflow, listen for unusual vibration or noise, and test the remote control and any backup heater. Record any warnings or fault codes. If the weather is too mild to test heating or cooling properly, write down what has not been confirmed and plan another test in suitable weather. A mild-day test cannot prove the system’s output on the coldest winter day.
For a multi-zone system, ask the contractor to check how the indoor units respond when several rooms call for heating or cooling at the same time, within the model’s permitted modes. Confirm where each room temperature is sensed and show the owner how the selected controls work. Record the outdoor conditions and any checks that could not be completed. A short start-up test is not a substitute for checking the published heating capacity at the winter design temperature.
Before handover, ask the installer to show you how to switch between heating, cooling and the model’s permitted zone modes, how to read any fault message, and how to access and clean the filters safely. If the system uses a condensate pump or backup heater, ask what warning signs require a service visit. Keep the manuals, model and serial numbers, commissioning records and the contact information for the responsible installation company.
Single-Zone or Multi-Zone: Which Installation Layout Makes More Sense?
Choose a single-zone system when one room or open area needs its own indoor unit. Consider a multi-zone system when several rooms need separate indoor units and one shared outdoor unit fits the site. Compare the actual equipment and installation plans: neither type is always cheaper or more efficient.
| What matters | Single-zone | Multi-zone |
|---|---|---|
| Rooms and temperature control | One indoor unit heats or cools one zone. | Several indoor units control different rooms. |
| Heating and cooling output | Match the indoor/outdoor pair to the room’s load. | Check approved combinations and how much output several rooms can share at once. |
| Installation work | Usually fewer pipes, drains and mounting locations. | Usually more pipe and drain routes to plan. |
| If equipment fails | The affected zone loses that system. | One outdoor-unit problem may affect several rooms. |
| Check before choosing | Room load, location and how low the unit can turn its output down. | Line limits, approved combinations and room-by-room output when units run together. |
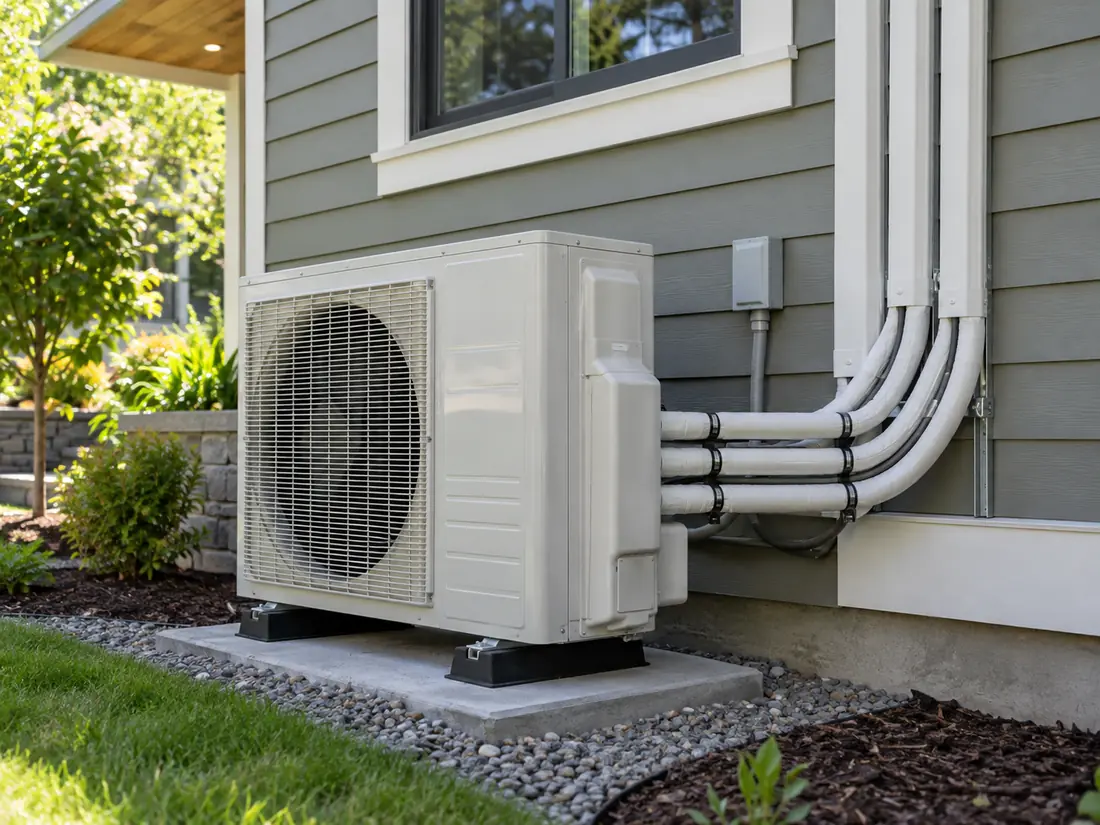
For an addition or one separate room, a single-zone heat pump may work without changing the existing central system. If you want to condition several rooms, sharing one outdoor unit may save outside space but make pipe routing harder. Compare both layouts against each room’s load and the manufacturer’s approved combinations. Remember that a typical ductless indoor unit recirculates room air: it does not bring in the fresh air required for ventilation. Plan ventilation and whole-home filtration separately where needed.
If one room may need cooling while another needs heating, check the exact multi-zone model’s operating-mode rules before choosing it. Many standard shared-outdoor-unit systems cannot provide both modes at the same time. Do not assume independent room temperature settings mean independent heating and cooling modes. If different rooms regularly need opposite modes at the same time, compare separate single-zone systems or equipment explicitly designed and approved for simultaneous heating and cooling instead of assuming a standard multi-zone layout can do both.
Can You Install a Ductless Heat Pump Yourself?
You may be able to prepare the work area yourself, but you should not assume you can legally and safely install a complete ductless heat pump on your own. In the U.S., refrigerant work that can release refrigerant is subject to EPA Section 608 certification rules. Electrical permits, licenses and warranty conditions also depend on the location and equipment.
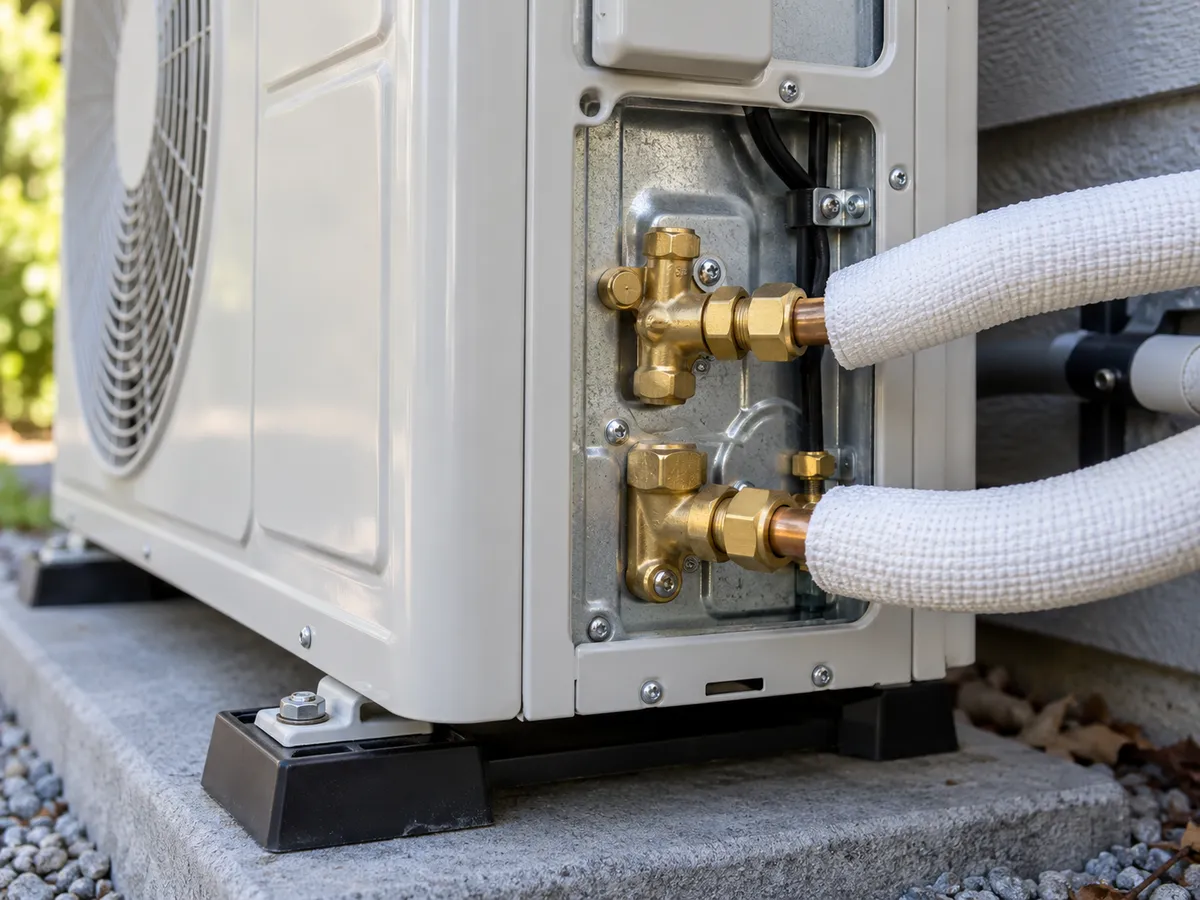
You can help plan the indoor-unit location, clear the work area and arrange access, as long as local rules allow it. Do not assume drilling through structural walls, mounting a heavy outdoor unit, wiring circuits, working on refrigerant lines, leak testing or start-up testing are safe homeowner tasks. Factory-charged or quick-connect models still need to meet the product instructions and local requirements before any work begins.
Before ordering a DIY-labeled system, get three answers in writing. Does the manufacturer permit your planned approach, and will the warranty still apply? Which steps need a licensed electrician or a refrigerant-certified technician? What permits, inspections and records are required locally? If you cannot confirm these points, ask for a professional installation quote instead of relying on a general online video.
How Much Does Ductless Heat Pump Installation Cost?
In the U.S., the installed price depends on how many rooms need units, how easy they are to reach, which equipment is chosen, and whether extra wiring or longer refrigerant lines are needed. As a rough reference, Angi’s October 2026 ductless HVAC guide lists $2,400–$5,500 for one zone and $3,100–$7,800 for two zones. These are the publisher’s broad estimates, not Airproz prices or confirmed quotes for heat-pump-only installations.
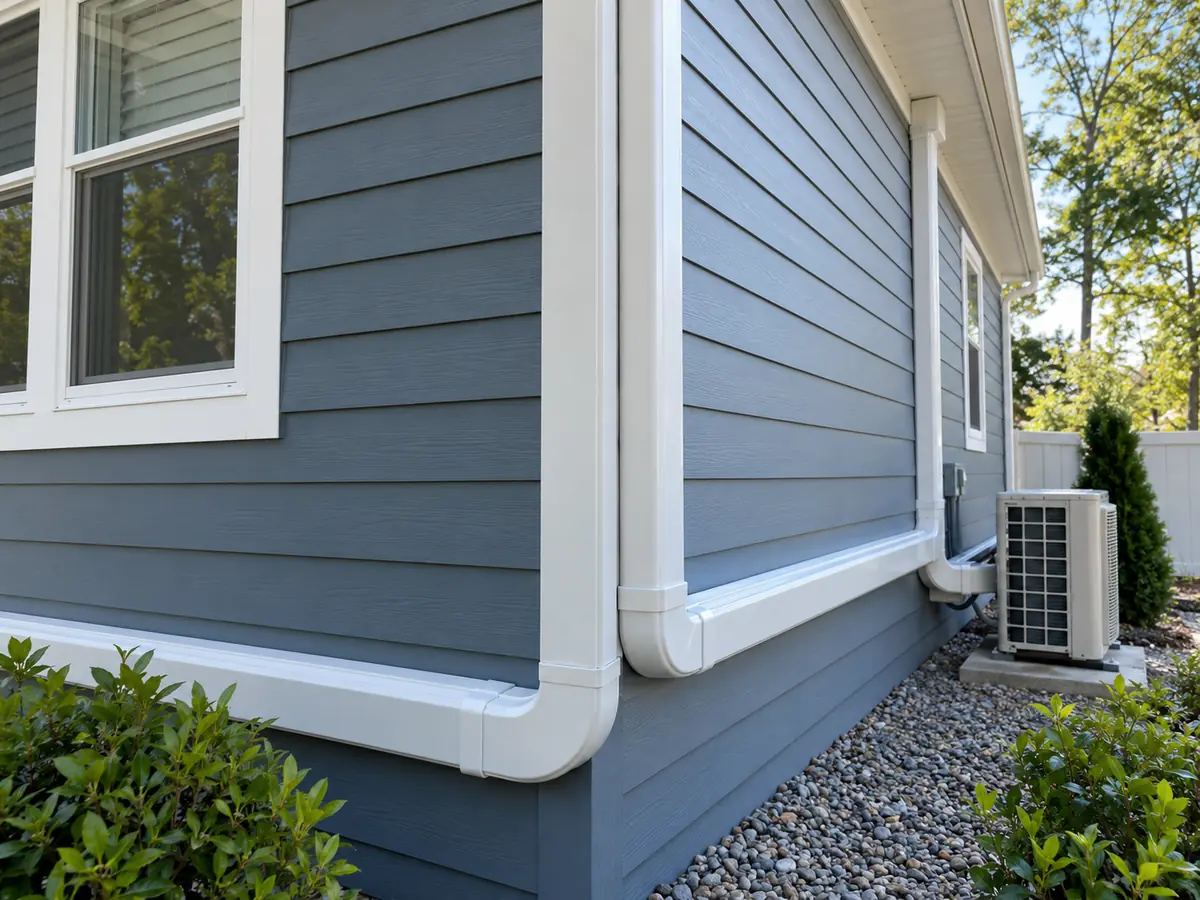
A whole-home heat pump installation can cost more than a one-room ductless job, but the published averages are not directly comparable. EnergySage’s March 2026 marketplace sample includes ducted, ductless and hybrid heat pump projects. Angi’s zone-based figures above cover a different group of ductless HVAC jobs. Use each source only as a rough budgeting reference, then compare quotes for the same equipment and work. If this project would replace an existing AC, first assess whether to repair or replace the existing system before treating a new ductless installation as the default choice.
| Cost item | Why it can cost more | Ask the installer for |
|---|---|---|
| Equipment and zones | More indoor units and different approved system sizes change materials and labor. | Exact indoor/outdoor model numbers and unit count. |
| Piping and drains | Longer routes, difficult walls and drain pumps add work. | Included pipe length, routing and drain work. |
| Electrical | New circuits, a panel upgrade or disconnects may be needed. | What electrical work is included and who will do it. |
| Permits and restoration | Local permits, inspection, access and repairs vary. | Permit fees, inspection, wall repair and cleanup. |
| Commissioning | Leak checks, start-up tests and records require skilled time. | Which tests, records and warranty terms are included. |
For example, a quote for one outdoor unit serving three indoor heads is not directly comparable with a quote for three separate single-zone systems. Before comparing totals, align the rooms served, the indoor-unit types, the design-temperature heating output, the electrical work, the drain routes and the required handover tests. A lower total is only meaningful after those differences are visible.
Ask whether each quote includes removing old equipment, repairing walls, electrical upgrades, outdoor pads, condensate pumps and later testing. Also identify who obtains the permits, who is responsible for licensed electrical and refrigerant work where required, and who pays for any required follow-up tests. Mark items excluded from each quote instead of comparing only the final price. A low price may leave out a required circuit or proper start-up testing. If the design calls for backup heat, include the backup equipment, electrical work and control setup in the same scope of comparison rather than treating the heat pump installation price as the entire heating project. Rebates and incentives vary by location, program date and eligible model, so check eligibility before subtracting any savings from your budget.
How Do You Choose a Ductless Heat Pump Installer and Check the Finished Work?
Choose an installer who can explain how the system was sized, why the indoor and outdoor units match, where pipes and drains will go, and how the finished system will be tested. Check the licenses and refrigerant certification required in your area. Those credentials matter, but you still need proof that the system was sized and tested properly.
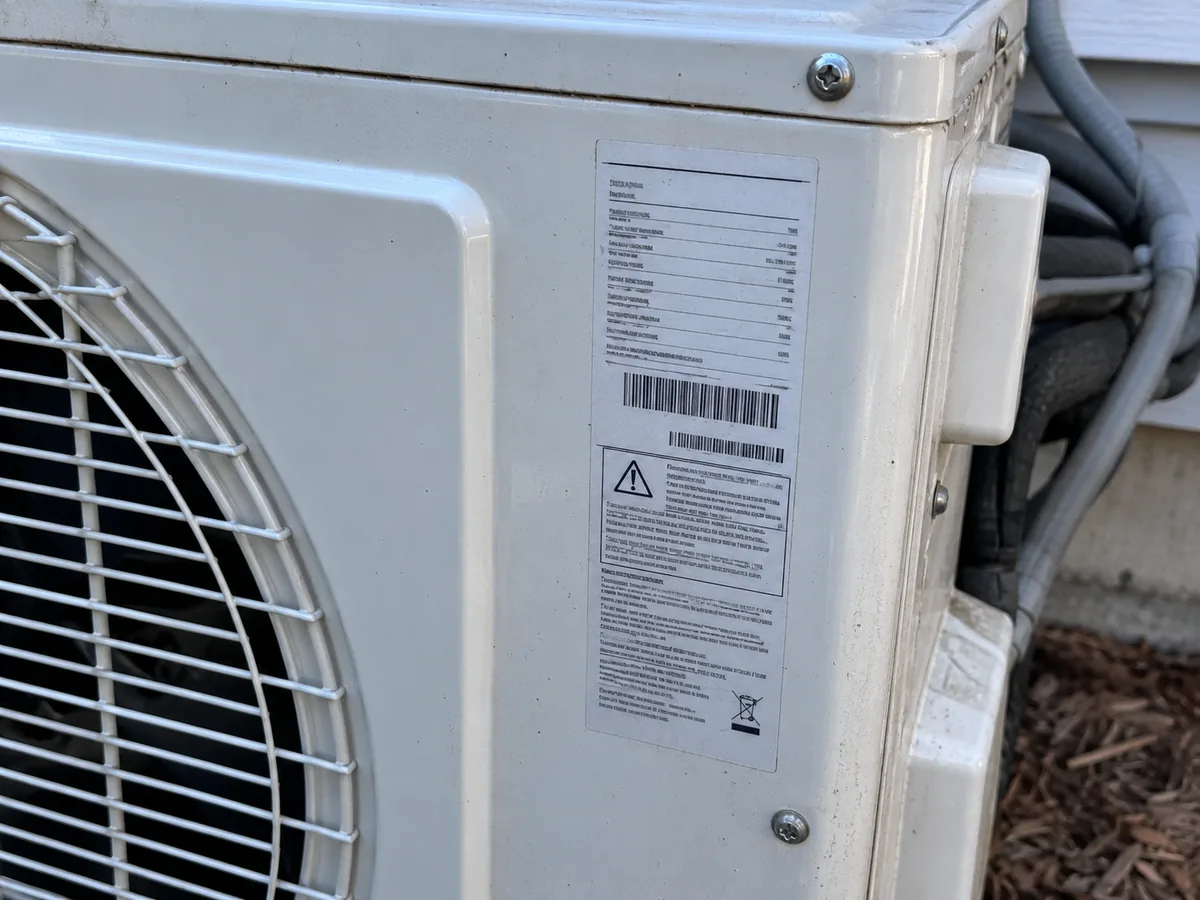
Ask for a proposal showing each room’s load, the exact indoor and outdoor model numbers, mounting positions, pipe and drain routes, electrical work, permits, cold- and hot-weather performance data, warranty terms and start-up test records. For systems that qualify for AHRI certification, you can check the AHRI directory or the system’s Certified Reference Number to confirm the rated indoor/outdoor combination. Do not assume an Airproz model is AHRI-certified unless that exact listing has been verified.
| Keep this record | What it should show | Why you need it |
|---|---|---|
| Model details | Indoor/outdoor model and serial numbers and approved pairing. | Helps catch an incorrect equipment match. |
| Installation measurements | Line length, height difference, clearances and service access. | Shows whether key model limits were met. |
| Refrigerant checks | Required leak checks, evacuation and any charge adjustment. | Supports later checks for leaks or incorrect charge. |
| Electrical checks | Required circuit and inspection records and disconnect location. | Helps identify unsafe or undocumented power work. |
| Start-up results | For each model-required leak, evacuation, drain and control check, record the date and test conditions, the applicable procedure or acceptance basis, the actual reading or observed result, and whether the requirement was met. List deferred checks and who will complete them. | Lets the owner distinguish work actually verified from tests still pending. |
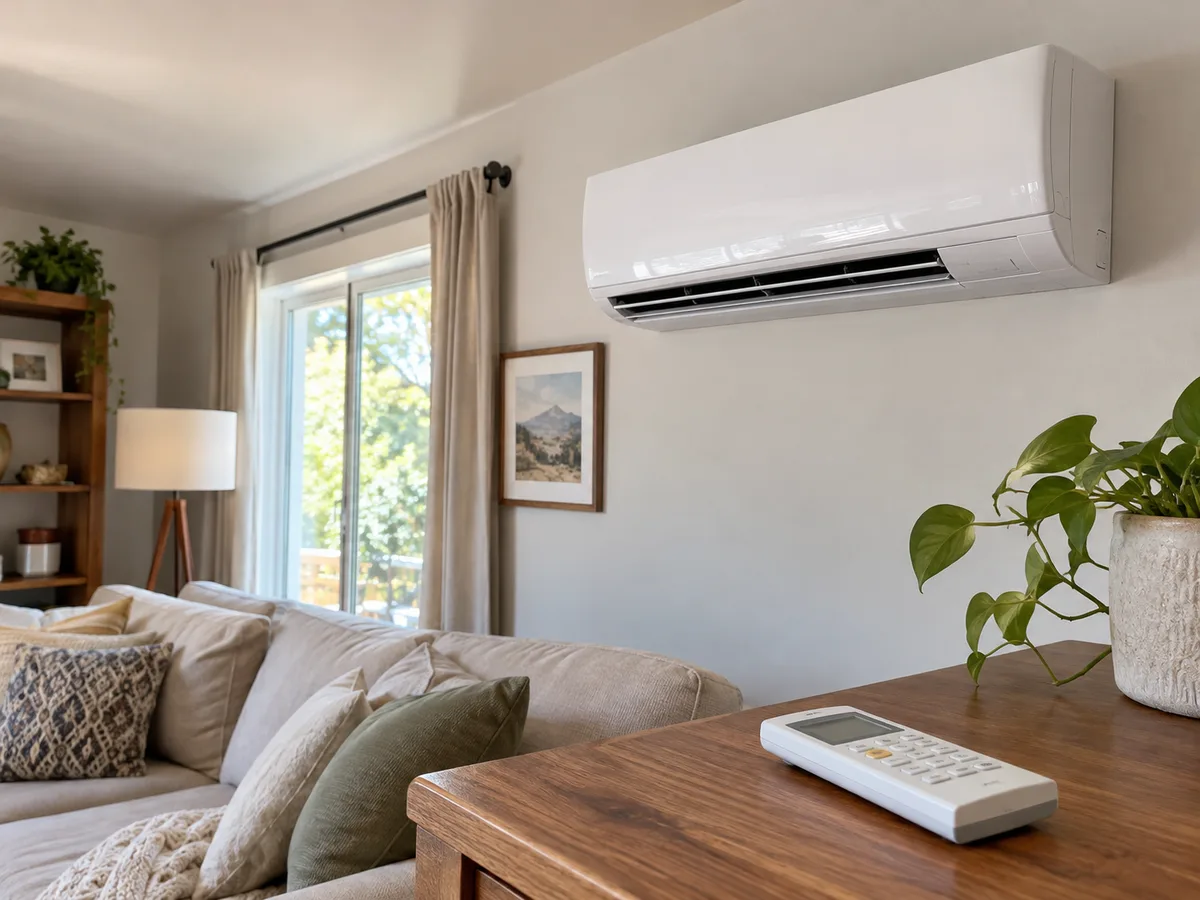
What to check before accepting the work: A unit that turns on may still be incorrectly sized or installed. A mild-day start-up does not prove heating output at the winter design temperature. Keep the follow-up tests and responsible party identified in the handover record above.
What Problems Should You Check After Ductless Heat Pump Installation?
First identify any warning signs: a burning smell, repeated protective-device trips or water near electrical parts. Stop using the affected system when it is safe to do so, keep clear of electrical hazards and arrange qualified service. Do not repeatedly reset a tripping breaker or open electrical covers. If there are no warning signs, start with safe checks of the mode, set temperature, filters and unblocked airflow; leave electrical and refrigerant diagnosis to qualified technicians.
| What you notice | What may have gone wrong | What you can safely do first |
|---|---|---|
| Repeated trips or error codes | Electrical, communication, sensor or other system faults. | If protective devices trip repeatedly, stop using the affected system and arrange qualified service; do not bypass or repeatedly reset protection. For a fault code without a trip, record the code and conditions and follow the model manual’s safe user guidance. |
| Water at indoor head | Blocked or poorly sloped drain, failed pump or wet insulation. | If water is entering the building or is near electrical parts, stop the affected cooling operation when safe and keep clear of electrical hazards. Arrange a qualified drain inspection. |
| One room stays cold or hot | Incorrect room sizing, blocked airflow or not enough shared system output. | Check the filter and air path; ask the installer to review sizing and the equipment match. |
| Room feels cool but damp, or the unit starts and stops often. | Cooling output may be too high for the current load, humidity removal may be inadequate, or controls may be mis-set. | Check the mode, filters and airflow; record indoor humidity and cycling, then ask the installer to compare minimum cooling output and the room’s cooling and moisture loads. |
| Outdoor unit is noisy | Loose or unsuitable mounting, vibration or blocked outdoor airflow. | Observe from a safe distance and ask for a mounting and clearance check. |
| Weak cold-weather heat | Not enough low-temperature output, blocked airflow, defrost or control problems. | Record the outdoor temperature and settings; compare them with the model’s published winter output. |
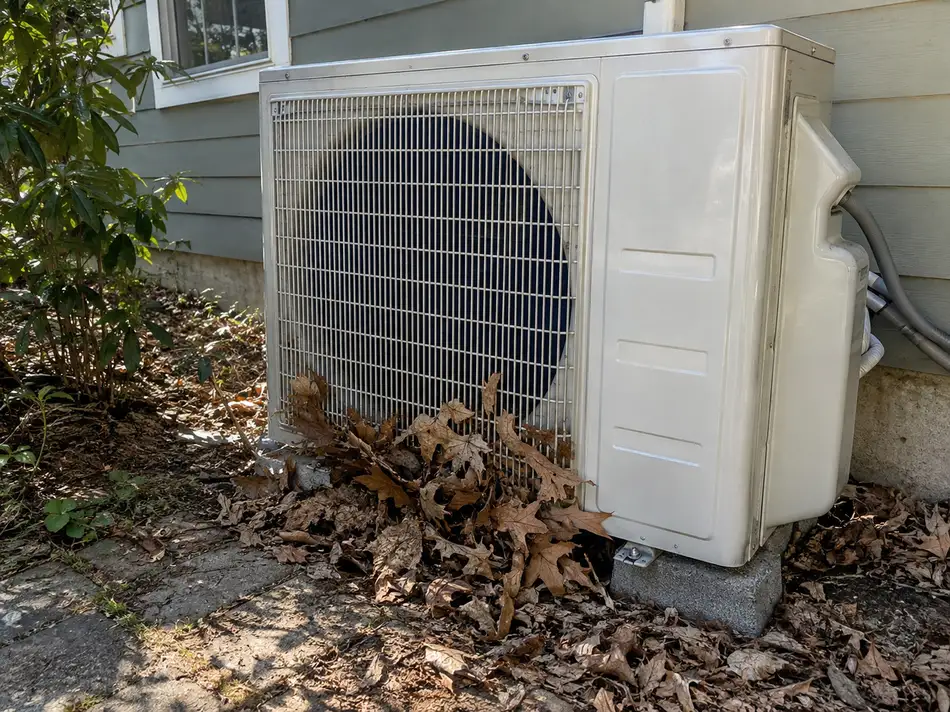
When reporting a problem, note the indoor and outdoor temperatures, selected mode, which rooms are calling, any fault code, and whether the issue happens during heating, cooling or defrost. These observations help a qualified technician check the cause without guessing from one symptom.
Weak cooling does not automatically mean low refrigerant. A dirty filter, blocked coil, wrong mode or a unit too small for the room can cause similar problems. Adding refrigerant without finding the cause can make things worse. Keep the original start-up test records so a service technician can compare the system’s condition later.
In cold, damp weather, a heat pump may briefly reduce or pause indoor heating while it clears frost from the outdoor coil. That can be normal, but persistent ice buildup, repeated fault codes or rooms that stay too cold need further investigation. Record the outdoor weather, how often the event happens and any fault code. Do not open the refrigerant circuit or add refrigerant to treat a presumed defrost problem. This is different from ice on the indoor cooling coil during cooling, which calls for stopping cooling, checking for hazards and arranging further diagnosis if the problem returns.
What Project Details Help Confirm the Installation Plan?
Before asking about a model or an installation quote, collect the room loads, location, planned indoor and outdoor units, pipe routes and electrical details. Your contractor needs these facts to check whether a particular system can work at the site. Floor area by itself is not enough.
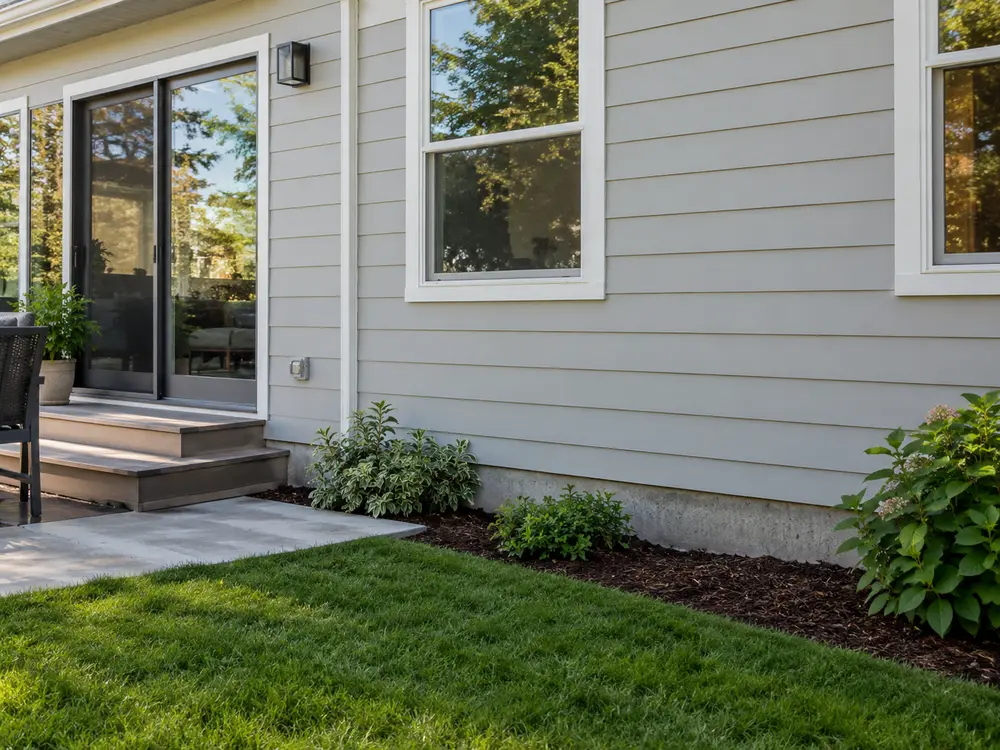
- Location and rooms: where the project is, how each room is used, and the local winter and summer design temperatures.
- Room loads and use: heating and cooling load calculations for every room, planned indoor unit types and usual operating hours.
- Unit locations and pipes: sketches showing proposed indoor/outdoor positions, pipe routes, distances and height differences.
- Power and site rules: voltage, phase, available electrical capacity, permit limits, snow or weather exposure and noise restrictions.
- Documents, controls and responsibilities: required manuals and test records, who will install and test the system, warranty expectations, the rooms’ heating/cooling mode needs, and who will set up any required backup heating controls.
If you are comparing equipment suppliers, these details also help you request exact model specifications and installation documents. Do not finalize the equipment choice until the model data and site conditions have been checked together.
Frequently Asked Questions
Does a ductless heat pump require ductwork?
A standard wall-mounted ductless mini-split does not need supply or return air ducts to serve its room. Some compatible heat-pump systems can instead use compact ducted indoor units, which require properly designed short ducts. Check the exact indoor-unit type; room ventilation is a separate requirement.
How long does a ductless mini-split installation take?
There is no reliable one-size-fits-all schedule. A single-zone installation usually involves less work than a multi-room retrofit, but the time changes with access, pipe routes, wiring, permits and inspections. Ask your contractor for a schedule that covers your specific site. Separate the planned on-site installation time from permit approval, any electrical upgrade and the final inspection. Those parts may have different schedules.
Do I need a permit to install a ductless heat pump?
You may need one or more permits, depending on local building rules and the electrical or mechanical work involved. Ask your city or local building department which permits and inspections apply before work begins. There is no single U.S.-wide yes-or-no answer.
Does a pre-charged mini-split make installation a DIY task?
No. A factory-charged mini-split is not automatically safe or legal for full DIY installation. Electrical codes, permits and U.S. refrigerant-handling rules can still apply. Check the exact connection method and model manual, then confirm what work local rules allow you to do.
Sources
Technical references and what they support:
- How ductless systems work and how to size them: The U.S. Department of Energy, Ductless, Mini-Split Heat Pumps; ENERGY STAR, Ductless Heating & Cooling; ACCA, Manual J Residential Load Calculation and Manual S Residential Equipment Selection. Use a room-by-room load calculation and the exact model’s published performance for final selection.
- Refrigerant-work safety: The U.S. EPA, Refrigerant Management Program: Questions and Answers for Section 608 Certified Technicians. Certification requirements must be checked against the actual refrigerant work and applicable rules.
- Matched-system information: AHRI, How and Why of Certified. A directory entry or rating must be checked for the exact indoor/outdoor combination; this article does not claim that an Airproz model has an AHRI listing.
- Published installation-cost context: Angi, How Much Do Ductless HVAC Systems Cost to Install? [2026 Data] (October 2026 update), covers ductless HVAC zone-based estimates. EnergySage, How Much Does a Heat Pump Cost in 2026? (March 19, 2026 update), covers a wider mix of heat pump projects, including ducted, ductless and hybrid systems.
These references are not Airproz prices, certifications or verified performance for a particular site. Follow the installation manual for the exact model when checking clearances, refrigerant piping, electrical requirements and commissioning procedures.
Final Takeaway: What Makes a Ductless Heat Pump Installation Work?
A successful ductless heat pump installation starts with room-by-room heating and cooling loads, not a guess based on floor area. Choose a manufacturer-approved indoor and outdoor combination that can meet those loads in local weather. Plan airflow, mounting, line routes, drainage, electrical work and permits before installation. Qualified workers must complete the regulated electrical and refrigerant tasks, and the contractor should record the required leak, drainage, control and operating checks. Keep any tests that could not be completed in the available weather on a follow-up list.
Questions about Airproz equipment? Send us your room loads, intended unit locations and the electrical and piping details above. Ask for the exact model specifications, approved equipment combinations and installation instructions before choosing a system. Use a qualified local contractor to verify the site design and handle licensing, permits, electrical and refrigerant work, and final start-up testing.