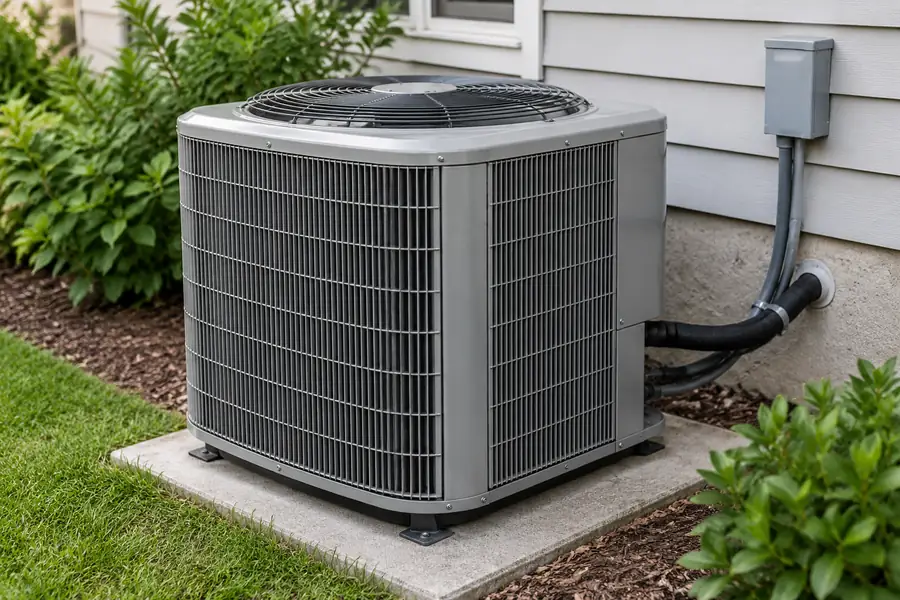
Replace your air conditioner when it keeps breaking down, a major repair is no longer worth the cost, or it still cannot cool your home after fixable problems have been ruled out. Being more than ten years old—or using R-22—does not mean you must replace it today. First confirm the fault, compare the full repair and replacement costs, and make sure any new unit fits your home’s cooling needs.
The guidance covers central and split home air conditioners. Refrigerant, electrical, and efficiency rules vary by country; check the requirements where the equipment is installed.
- Keep using it: The AC cools reliably, has no known safety fault, and needs only normal maintenance. Monitor comfort and operating costs.
- Repair first: A qualified technician confirms a manageable fault, the rest of the system is sound, and repair is reasonable. Check ducts and airflow before blaming the AC for hot rooms.
- Compare repair and replacement: Major faults or repeated breakdowns make ongoing repairs uncertain, or cooling stays poor after other causes are corrected. Compare documented repair and full installed replacement costs.
- Plan replacement when justified: A confirmed problem cannot be corrected safely or reasonably, or the complete comparison favors a properly sized new system. Check the cooling load, approved indoor/outdoor match, design-weather capacity, airflow, power, controls, and start-up plan. Safety exception: If there is an immediate electrical hazard, stop using the AC and get qualified service before deciding whether to repair or replace.
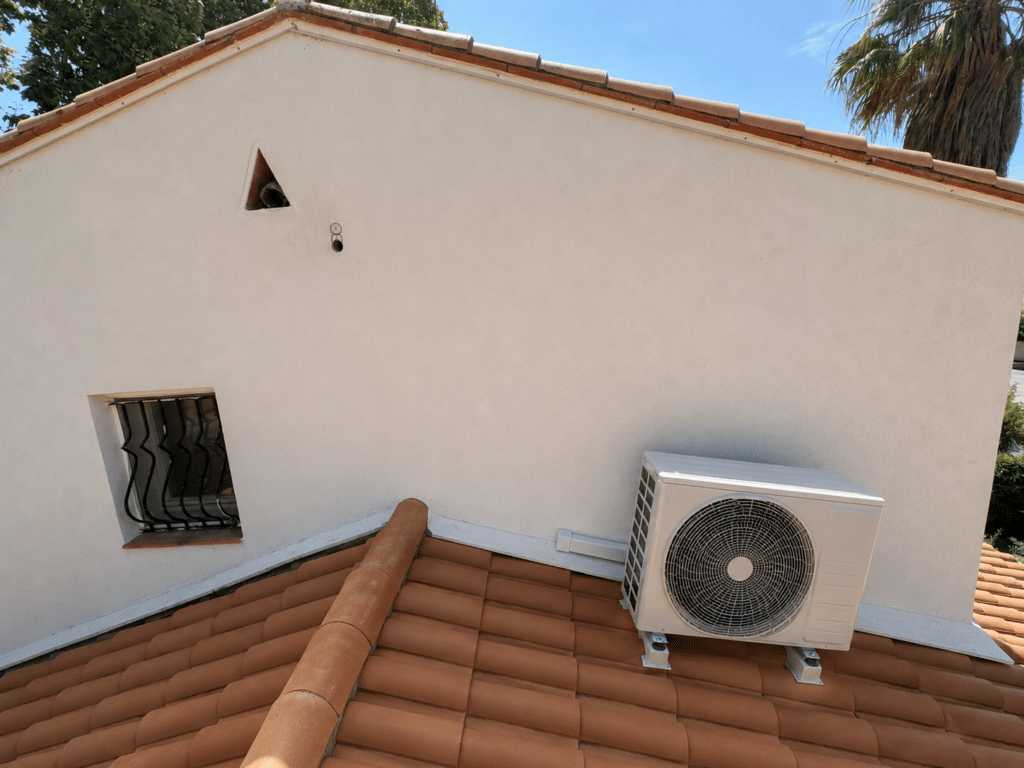
Four signs it may be time to replace your air conditioner
The four warning signs are: (1) an older AC that is becoming unreliable; (2) refrigerant leaks or replacement parts that make service difficult; (3) major or repeated repair costs that may no longer be worthwhile; and (4) poor cooling, humidity control, or unusually high energy use after fixable causes have been checked. These are reasons to investigate—not automatic orders to replace. Confirm the fault and compare repair with the full replacement option before deciding.
| Warning sign | Why it matters | Check before replacing |
|---|---|---|
| 1. Older and unreliable | Repeated failures can increase downtime and repair uncertainty; age alone proves little. | Review service history, warranty, parts availability, and whether a confirmed repair restores reliable cooling. |
| 2. Hard to service | A major refrigerant leak or unavailable approved parts may make repair impractical. | Confirm the leak or failed part, lawful refrigerant/service options, approved components, and a complete repair quote. R-22 alone does not require replacement. |
| 3. Repairs cost too much or recur | A major repair may offer poor value if other worn parts or repeat failures remain. | Compare written repair and full installed replacement costs, remaining warranty, reliability, and work included. No single percentage decides for you. |
| 4. Cooling or energy problems persist | Uneven cooling, high bills, humidity, or long run times can also come from ducts, controls, or building conditions. | Check airflow, ducts, thermostat, cooling load, and actual kWh under comparable conditions before blaming the AC. |
ENERGY STAR identifies an air conditioner over ten years old, frequent repairs, higher energy bills, and uneven room temperatures as reasons to have the system evaluated—not as automatic replacement triggers. Installation problems can also affect newer equipment.
Sign 1: The air conditioner is older and becoming unreliable
If your AC is over ten years old and keeps needing repairs or struggles to cool your home, get both repair and replacement options. If it still works well and only needs routine service, age alone is not a reason to replace it.
Long cooling seasons and coastal exposure can increase wear or corrosion, while a reliable unit with available parts may remain serviceable. Check service records, visible condition, and measured performance instead of treating 10–15 years as an expiry date. Diagnose dirty coils, restricted airflow, or electrical problems before deciding to replace.
How do you know whether age is the real issue?
Find the model and serial numbers on the equipment label without opening an electrical or sealed compartment. Use your installation paperwork, or ask the installer or manufacturer to confirm the age, parts availability, and remaining warranty. Check whether the warranty covers labor as well as parts. Then review past repair bills. A one-time control problem is very different from repeated compressor failures or serious refrigerant leaks.
Ask the technician whether fixing airflow or a building issue would restore cooling. For related equipment trade-offs, read our pros and cons guide.
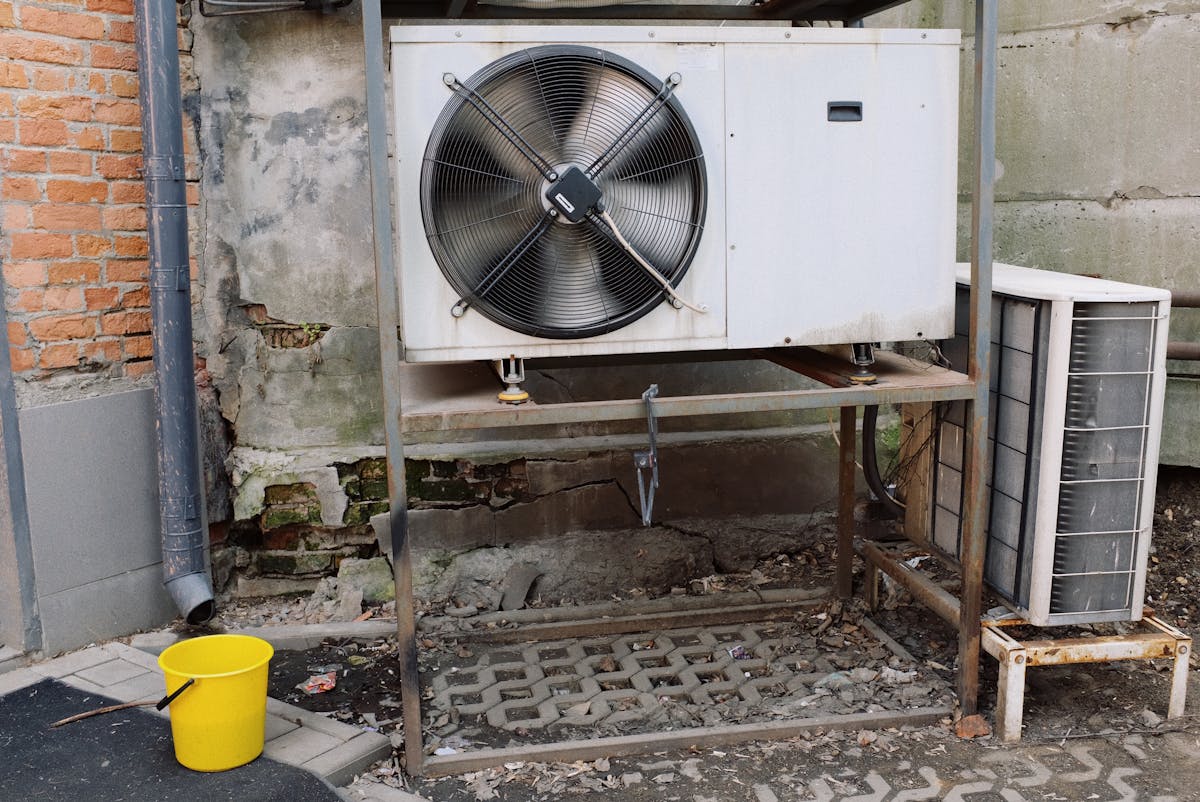
Sign 2: Refrigerant or replacement parts are difficult to service
R-22 in an existing AC is not, by itself, a reason to replace it. If a qualified technician can repair a minor fault using legally permitted parts and refrigerant, continued service may make sense. If there is a major leak, approved parts are unavailable, and compliant service is impractical or very costly, compare a complete replacement instead.
According to the U.S. EPA’s R-22 phaseout guidance, production and import of new HCFC-22 for U.S. use ended in 2020. Existing R-22 air conditioners are not automatically required to be replaced; they may continue to operate and be serviced with legally permitted recovered, recycled, or reclaimed refrigerant, following applicable refrigerant-service requirements. Other countries have different requirements. Ask a qualified local technician whether the refrigerant and replacement parts are available, what the repair involves, and what the complete repair will cost.
What about an older R-410A system? For an existing R-410A air conditioner in the United States, the EPA distinguishes requirements for newly installed systems from servicing existing equipment. Changes to new-system rules do not, by themselves, mean a working R-410A unit must be replaced. Repairs must still use compatible components and follow applicable requirements. Confirm the refrigerant on the nameplate, the approved component match, and local requirements before choosing repair or replacement.
What if your AC keeps needing refrigerant?
Your AC should not need regular refrigerant refills. If refrigerant keeps leaking out, the technician needs to find the leak and check whether repairing it makes sense. Refrigerant work must be handled by someone qualified to do it.
Ask for the refrigerant shown on the nameplate, the leak location, how the refrigerant will be recovered legally, and a complete written repair estimate. Do not put R-290, R-32, or another refrigerant into an R-22 system just because it is easier to buy. These refrigerants can require different equipment designs, approvals, and safety measures. Our R290 versus R32 comparison explains the general differences. R-22 is an HCFC refrigerant covered by ozone-depleting-substance phaseout rules. Other refrigerants and equipment may be affected by separate legislation, including EU F-Gas rules. Check the rules for the actual refrigerant and country with a qualified local professional before a repair or replacement.
Safety first: Do not open the sealed refrigerant system, switch refrigerants without an approved procedure, or bypass electrical safety devices. Ask a qualified local technician to find the fault and handle refrigerant recovery as required by law.
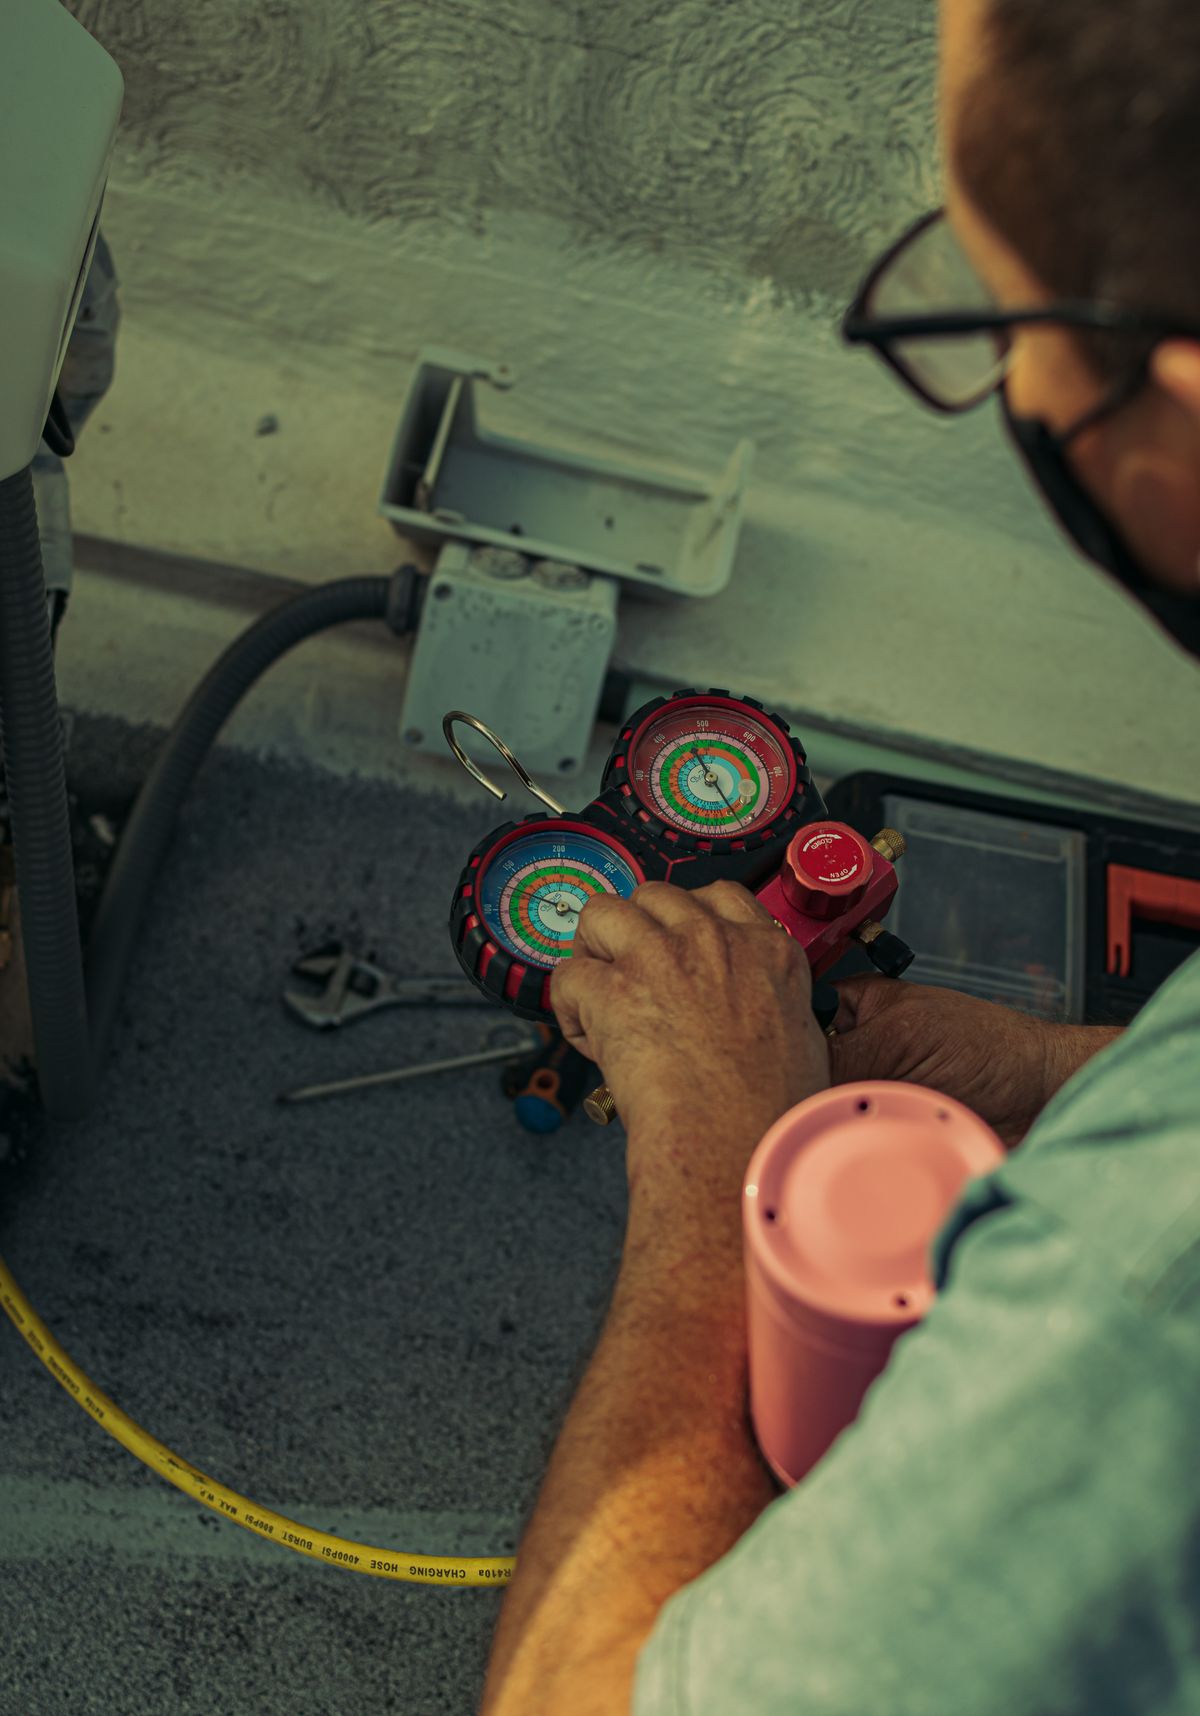
Sign 3: The cost and frequency of repairs no longer make sense
If a major repair costs nearly as much as installing a new AC, compare both options before paying for the repair. Also check the condition of the remaining parts. A small repair—or one covered by warranty—may still be the better choice.
The 50% repair rule, the ‘$5,000 rule,’ and ‘three repairs in three years’ are rough prompts to investigate—not official HVAC replacement limits. A large repair may still be sensible when warranty covers it and the rest of the system is sound. A less expensive repair may be poor value if the same major fault keeps returning. Compare written, like-for-like costs and the evidence behind the diagnosis rather than treating any formula as a command to replace.
How do you compare repair and replacement fairly?
Ask for a written repair quote that states what failed, which parts, labor, and refrigerant work are included, what the repair should fix, and what warranty you will get. Then ask for a full installed price for a replacement. Make sure that price includes any needed matched indoor parts, electrical or duct changes, removal, permits, and checks when the new unit is started.
Compare both options over the same period and for the same cooling needs. Put the two written estimates side by side:
- Cost now: Compare the complete repair bill with the full installed replacement price, including any duct, electrical, removal, or permit work.
- What the work fixes: Confirm the diagnosed fault, the condition of other aging parts, and whether duct or building problems would remain.
- Cost later: Compare supportable cooling electricity estimates under similar conditions, routine maintenance, and warranty coverage or exclusions.
- Uncertainty: Consider possible further failures and downtime as scenarios, not guaranteed future expenses.
If the costs are close, revisit the diagnosis, repair warranty, and installation scope before choosing.
A failed compressor on an older unit can be an expensive repair, and the other old parts will still be old afterward. A faulty fan motor or capacitor may be much cheaper to fix, so it does not automatically justify buying a new system. A major compressor repair may still make sense when warranty covers the failed part and the rest of the system passes inspection. By contrast, repeated refrigerant leaks combined with unavailable approved parts may make further repair impractical, even if the unit is not very old.
Sign 4: Cooling performance or energy costs remain poor after troubleshooting
Hot rooms, long run times, poor humidity control, or high energy use can be warning signs. But first check whether the real cause is a dirty filter, leaking duct, thermostat problem, wrong system size, or poor installation. Replacing the AC will not fix every one of these problems. For a more detailed symptom check before paying for replacement, see our air-conditioner-not-cooling troubleshooting guide.
- Safety first: Stop using the AC if there is smoke, a burning electrical smell, exposed live wiring, or repeated circuit-breaker trips. Arrange qualified service before restarting, and do not open electrical or refrigerant components yourself. New grinding or screeching sounds also need prompt inspection, but noise alone does not prove the system must be replaced. If ice is visible on the indoor coil or refrigerant line, stop cooling and use our AC freeze-up guide for safe next steps; icing alone does not prove replacement is needed.
- Simple checks: Confirm the thermostat setting, clean or replace an accessible filter as instructed, and clear blocked supply and return vents.
- Air distribution: If only some rooms remain hot, have duct leakage, airflow, insulation, and room conditions checked before blaming the outdoor unit.
- Qualified testing: Have a technician verify refrigerant faults, electrical operation, and delivered cooling. After a confirmed repair, check whether the original symptom is gone under comparable conditions. If cooling, cycling, or humidity problems remain, record the results and investigate the cause before deciding to replace.
Compare electricity used in kilowatt-hours (kWh), not just the bill amount, for periods with similar weather and home use. A hotter summer or higher rate can raise the bill without a change in equipment efficiency. Our AC running-cost guide shows how to turn measured kWh and local electricity rates into a comparable cost estimate.
How much energy does a new air conditioner save?
A newer AC can use less electricity, but no fixed savings percentage follows from its age or efficiency label alone. SEER and SEER2 compare cooling efficiency under defined seasonal test procedures. They do not state the amount of cooling available on the hottest design day, and they do not predict your installed electricity bill by themselves. Design-day capacity depends on the matched equipment and indoor/outdoor conditions. Real energy use also reflects airflow, ducts, controls, humidity, and how the home is used.
A whole-home electricity bill includes appliances and lighting, not just the AC. If cooling-only metering is unavailable, label an estimate based on operating hours, equipment data, and comparable weather. Compare the old and proposed systems delivering similar cooling at similar indoor settings, then apply the local rate and account for full installation cost. Older U.S. SEER and newer SEER2 values use different test methods; do not compare those numbers directly. For general efficiency information, see U.S. Department of Energy resources. Our T3 air-conditioner guide discusses high-temperature climate conditions.
In humid weather, a room can reach the thermostat setting yet feel sticky when the AC runs in short cycles or removes too little moisture. A larger replacement may worsen cycling. Record indoor temperature, relative humidity, and compressor start/stop times. Have a technician compare these observations with airflow, thermostat control, and the home’s cooling and moisture load; short cycling alone does not prove the AC is oversized.
Should you repair or replace the air conditioner?
First confirm what has failed. Then compare the repair cost, the full installed replacement cost, how reliable the old system is likely to be, and whether the building has other cooling problems. Use the table to decide what to do next.
| Your situation | What to do first | What to check |
|---|---|---|
| AC cools reliably with no verified fault or safety hazard | Keep using it and maintain it | Monitor comfort, filter condition, and operating-cost changes; reassess if a fault appears |
| Single minor fault; good performance and service support | Repair and monitor | Confirm diagnosis, warranty, and operating test |
| Older system plus repeated major component failures | Get full repair and installed replacement quotes | Document failures, parts outlook, and quote scope |
| R-22 AC with a confirmed major leak and limited local repair options | Compare a repair using legally allowed refrigerant with a new system | Check local refrigerant supply, qualified service, and the complete repair quote |
| Uneven rooms, high bill, or long runtime with duct/airflow issues | Correct and retest non-equipment causes first | Check cooling load, airflow, ducts, controls, and electricity rates |
| Major breakdown with meaningful warranty coverage | Price the warranted repair first | Check exclusions, remaining coverage, and likely reliability |
| Old equipment cannot meet the verified design load after corrections | Plan properly sized replacement or system redesign | Load calculation and capacity at design conditions |
| Room reaches the set temperature but remains humid; AC runs in short cycles | Check airflow, cooling load, controls, and moisture removal before choosing a larger replacement | Indoor humidity trend, run-time pattern, and approved equipment selection |
If you are told to replace the AC right away, ask the contractor to show the fault and how it was confirmed. If cooling falls short only during unusual heat, compare that weather with the local design conditions and the system’s documented capacity before declaring the equipment worn out. For a major repair—or where ducts or insulation may need work—a second opinion can help verify the diagnosis and compare options.
What should be checked before replacing a central air conditioner?
Do not order a new central AC just because it matches the old unit’s size. First work out how much cooling the home actually needs. Then check that the indoor and outdoor parts work together, that the power supply and ducts are suitable, and that the installer will test the system after installation.
First calculate how much cooling the home needs at your desired indoor temperature during local outdoor design weather. Include sunlight, occupants, equipment, ventilation, and moisture where relevant. This building cooling load is not necessarily the same as the old unit’s nameplate capacity. Next compare that load with the matched new system’s published cooling performance at the relevant indoor and outdoor conditions. If ducts, insulation, windows, or other building features have changed, update the load calculation before choosing a replacement size. A system should also control humidity where that matters.
For U.S. ducted homes, ACCA separates three tasks: Manual J estimates the home’s heating and cooling load; Manual S uses that load and manufacturer performance data to select suitable equipment; and Manual D addresses duct design and airflow. One calculation cannot replace the others. Your contractor should show how the selected system meets the home’s cooling and humidity needs and whether the existing ducts can carry the required airflow. Other markets may use different accepted methods.
Can you replace only the outdoor AC unit?
You may replace only the outdoor unit if the proposed equipment is approved to work with the existing indoor coil, the part that controls refrigerant flow (the metering device), the refrigerant circuit, controls, and electrical supply. The installer must confirm the approved matched-system performance—not just that the connections fit. If the combination is not approved or cannot deliver the required cooling and humidity control, the indoor coil or other components may also need replacement.
For ducted systems, check that the ducts can move enough air and are not leaking badly. For split systems, check the existing refrigerant pipes, insulation, and acceptable pipe length. The installer should also confirm condensate drainage, noise, service space, electrical protection, controls, permits or market approvals, and start-up tests. Our undersizing and oversizing guide explains why matching the old nameplate is not enough. If you are comparing cooling-only AC with a system that can also heat, see our AC versus heat pump guide.
Before installation, request the cooling-load results, approved indoor/outdoor equipment match, design-condition capacity, and agreed work scope. After installation, request recorded test conditions, delivered airflow, refrigerant-charge and control checks, and corrections made. For ducted systems, compare airflow and duct static pressure with the selected equipment’s requirements; correct duct or return-air restrictions instead of assuming a larger outdoor unit is needed. Compare readings with matched-equipment instructions and resolve significant differences before sign-off. Start-up tests show performance only under the recorded conditions—not automatically on the hottest design day. Check design-day capacity against approved manufacturer data, and arrange follow-up if comfort problems remain.
What happens after you decide to replace the AC?
Once replacement is justified, use four steps to make sure the new system fits the home and is installed correctly:
- Confirm and size: Record the fault and calculate the home’s cooling needs.
- Choose and agree: Select an approved indoor/outdoor combination and agree on a complete written installation scope.
- Remove and install: Have qualified installers handle refrigerant recovery and old equipment disposal as required, make any agreed duct or electrical changes, and fit the replacement.
- Test and document: Ask for recorded start-up and control checks, instructions, warranty documents, and any follow-up actions.
Before settling on a replacement layout, compare usable ducts, room-by-room control and installation limits in our guide to AC system types. A suitable system type still needs a model-specific cooling-load and equipment-match check.
How should dealers assess replacements across rental homes or a property portfolio?
For contractors and property managers, apply the same repair-versus-replacement checks to each building separately. Do not replace every AC just because the units are the same age. Start with units that keep failing, are difficult to repair, or cause the most disruption. Check each property’s cooling needs and full installed cost.
Make a simple record for each AC: location, model, refrigerant, age, breakdowns, repair costs, available parts, and how much disruption a failure causes. Where possible, add comparable electricity use and the condition of the ducts or pipes. If a unit presents an immediate electrical or refrigerant-safety hazard, stop using it and arrange an inspection by a qualified professional before returning it to service. Prioritize unsafe or unrepairable equipment; plan ordinary age- and cost-based replacements around actual performance, access, and the needs of occupants.
Using similar equipment families across properties can simplify maintenance and spare-parts planning, but identical model sizes may not suit every building. Two similar homes can have different cooling loads because of sun exposure, insulation, occupancy, humidity, or ducts. Compare each home’s cooling load, electrical supply, available installation space, and required approvals before grouping units into a replacement plan.
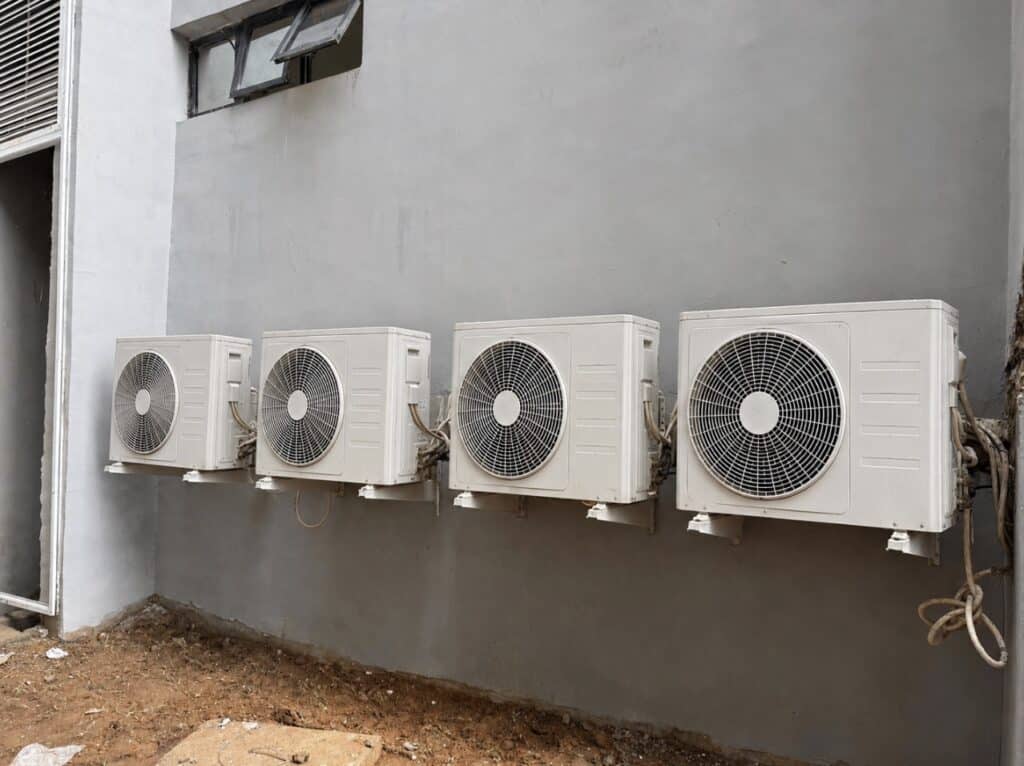
What information is needed before requesting an air conditioner replacement quote?
Before requesting a replacement quote, share the existing AC model, what is wrong with it, where the system will be used, and what installation work may be needed. A clear list helps you compare quotes and avoid choosing a unit that does not fit.
- Required to start: City or country, building type, cooled rooms or area, main symptoms, and existing AC brand/model if known. Record the nameplate refrigerant and cooling capacity if available, along with the indoor and outdoor units and electrical supply.
- Helpful if available: Occupancy and local design weather, equipment age, a technician’s diagnosis, repair history, electricity use during comparable weather, and any existing cooling-load calculation.
- Installation checks: Existing ducts or refrigerant pipes, mounting location, wiring limits, controls, service access, insulation or building changes, and who will carry out commissioning. Photos or equipment documents can help, but cannot replace site verification.
- When relevant: Permits, destination-market certificates, warranty needs, service arrangements, and any requirements for removing old equipment.
- For multiple properties: Unit counts, site-specific limitations, local documentation, and the delivery or installation schedule.
For background on comparing technical documents and equipment categories, the B2B heat-pump buying guide offers additional context. A complete AC replacement quote must still reflect the actual building load, existing equipment, and all necessary installation work.
Frequently asked questions
What is the average lifespan of a central air conditioner?
Many central air conditioners are discussed in the 10–15-year range, but that is not a fixed lifespan. How long yours lasts depends on climate, installation, maintenance, and operating hours. ENERGY STAR treats an AC over ten years old as a reason to consider an expert check, not automatic replacement.
What affects the cost of repairing an R-22 air conditioner?
R-22 repair costs depend on the diagnosed fault, leak repair, the amount and legal availability of refrigerant, labor, and any parts that need replacing. There is no single reliable price per pound or complete repair price for every location. Ask a qualified local technician for a written estimate, then compare the full repair cost with a properly scoped replacement. In the United States, R-22 alone does not require an existing AC to be replaced.
What is the 50% Rule in HVAC replacement?
The 50% rule is a rough shortcut: if a repair costs around half as much as a full installed replacement, it may be time to compare the two. It is not an official rule. Warranty coverage, other worn parts, expected reliability, and extra installation work can change the answer.
What SEER rating should I look for when replacing a home air conditioner?
Look for an AC that meets the efficiency rules where it will be installed, then compare models using the same rating system. In the U.S., many current ratings use SEER2. Also check the capacity needed for your home, matched indoor and outdoor equipment, and installed price. Do not assume that 16 SEER is a universal target or that the upgrade will pay for itself within a fixed number of years.
Can I replace my air conditioner without replacing ductwork?
Often yes. You can keep existing ductwork if it is in good condition, moves enough air for the new system, and does not leak excessively. Ask the installer to check it first. A new AC will not fix hot rooms if poor ducts are the real problem.
Final decision: when to replace your air conditioner
Start by confirming what is wrong. Check whether airflow, controls, ducts, or building problems can be corrected; then compare a documented repair with the full installed replacement option. Keep a safe, reliable AC if a justified repair restores cooling. Consider replacement when verified failures, lack of service options, or inability to meet the home’s design cooling needs make continued repair the poorer choice.
Questions About AC Equipment for a Replacement Project?
Once you know the existing faults, cooling requirements, and installation conditions, you can review our air-conditioner product information and the R32 inverter SA Series information as product-family references. To discuss a project inquiry, use our existing OEM and ODM contact page. Confirm final model suitability and destination-market approval using actual product documentation.